Lessons 3,4,5 Acrylic Class
"Get Out of Your Box"
The last 3 weeks we have been stretching our legs and brains and brushes to move with more flexibility with acrylic paints. We have reviewed some basic design elements such as color, shapes, lights and darks, repeating shapes, texture, etc. Now we are putting it all together.
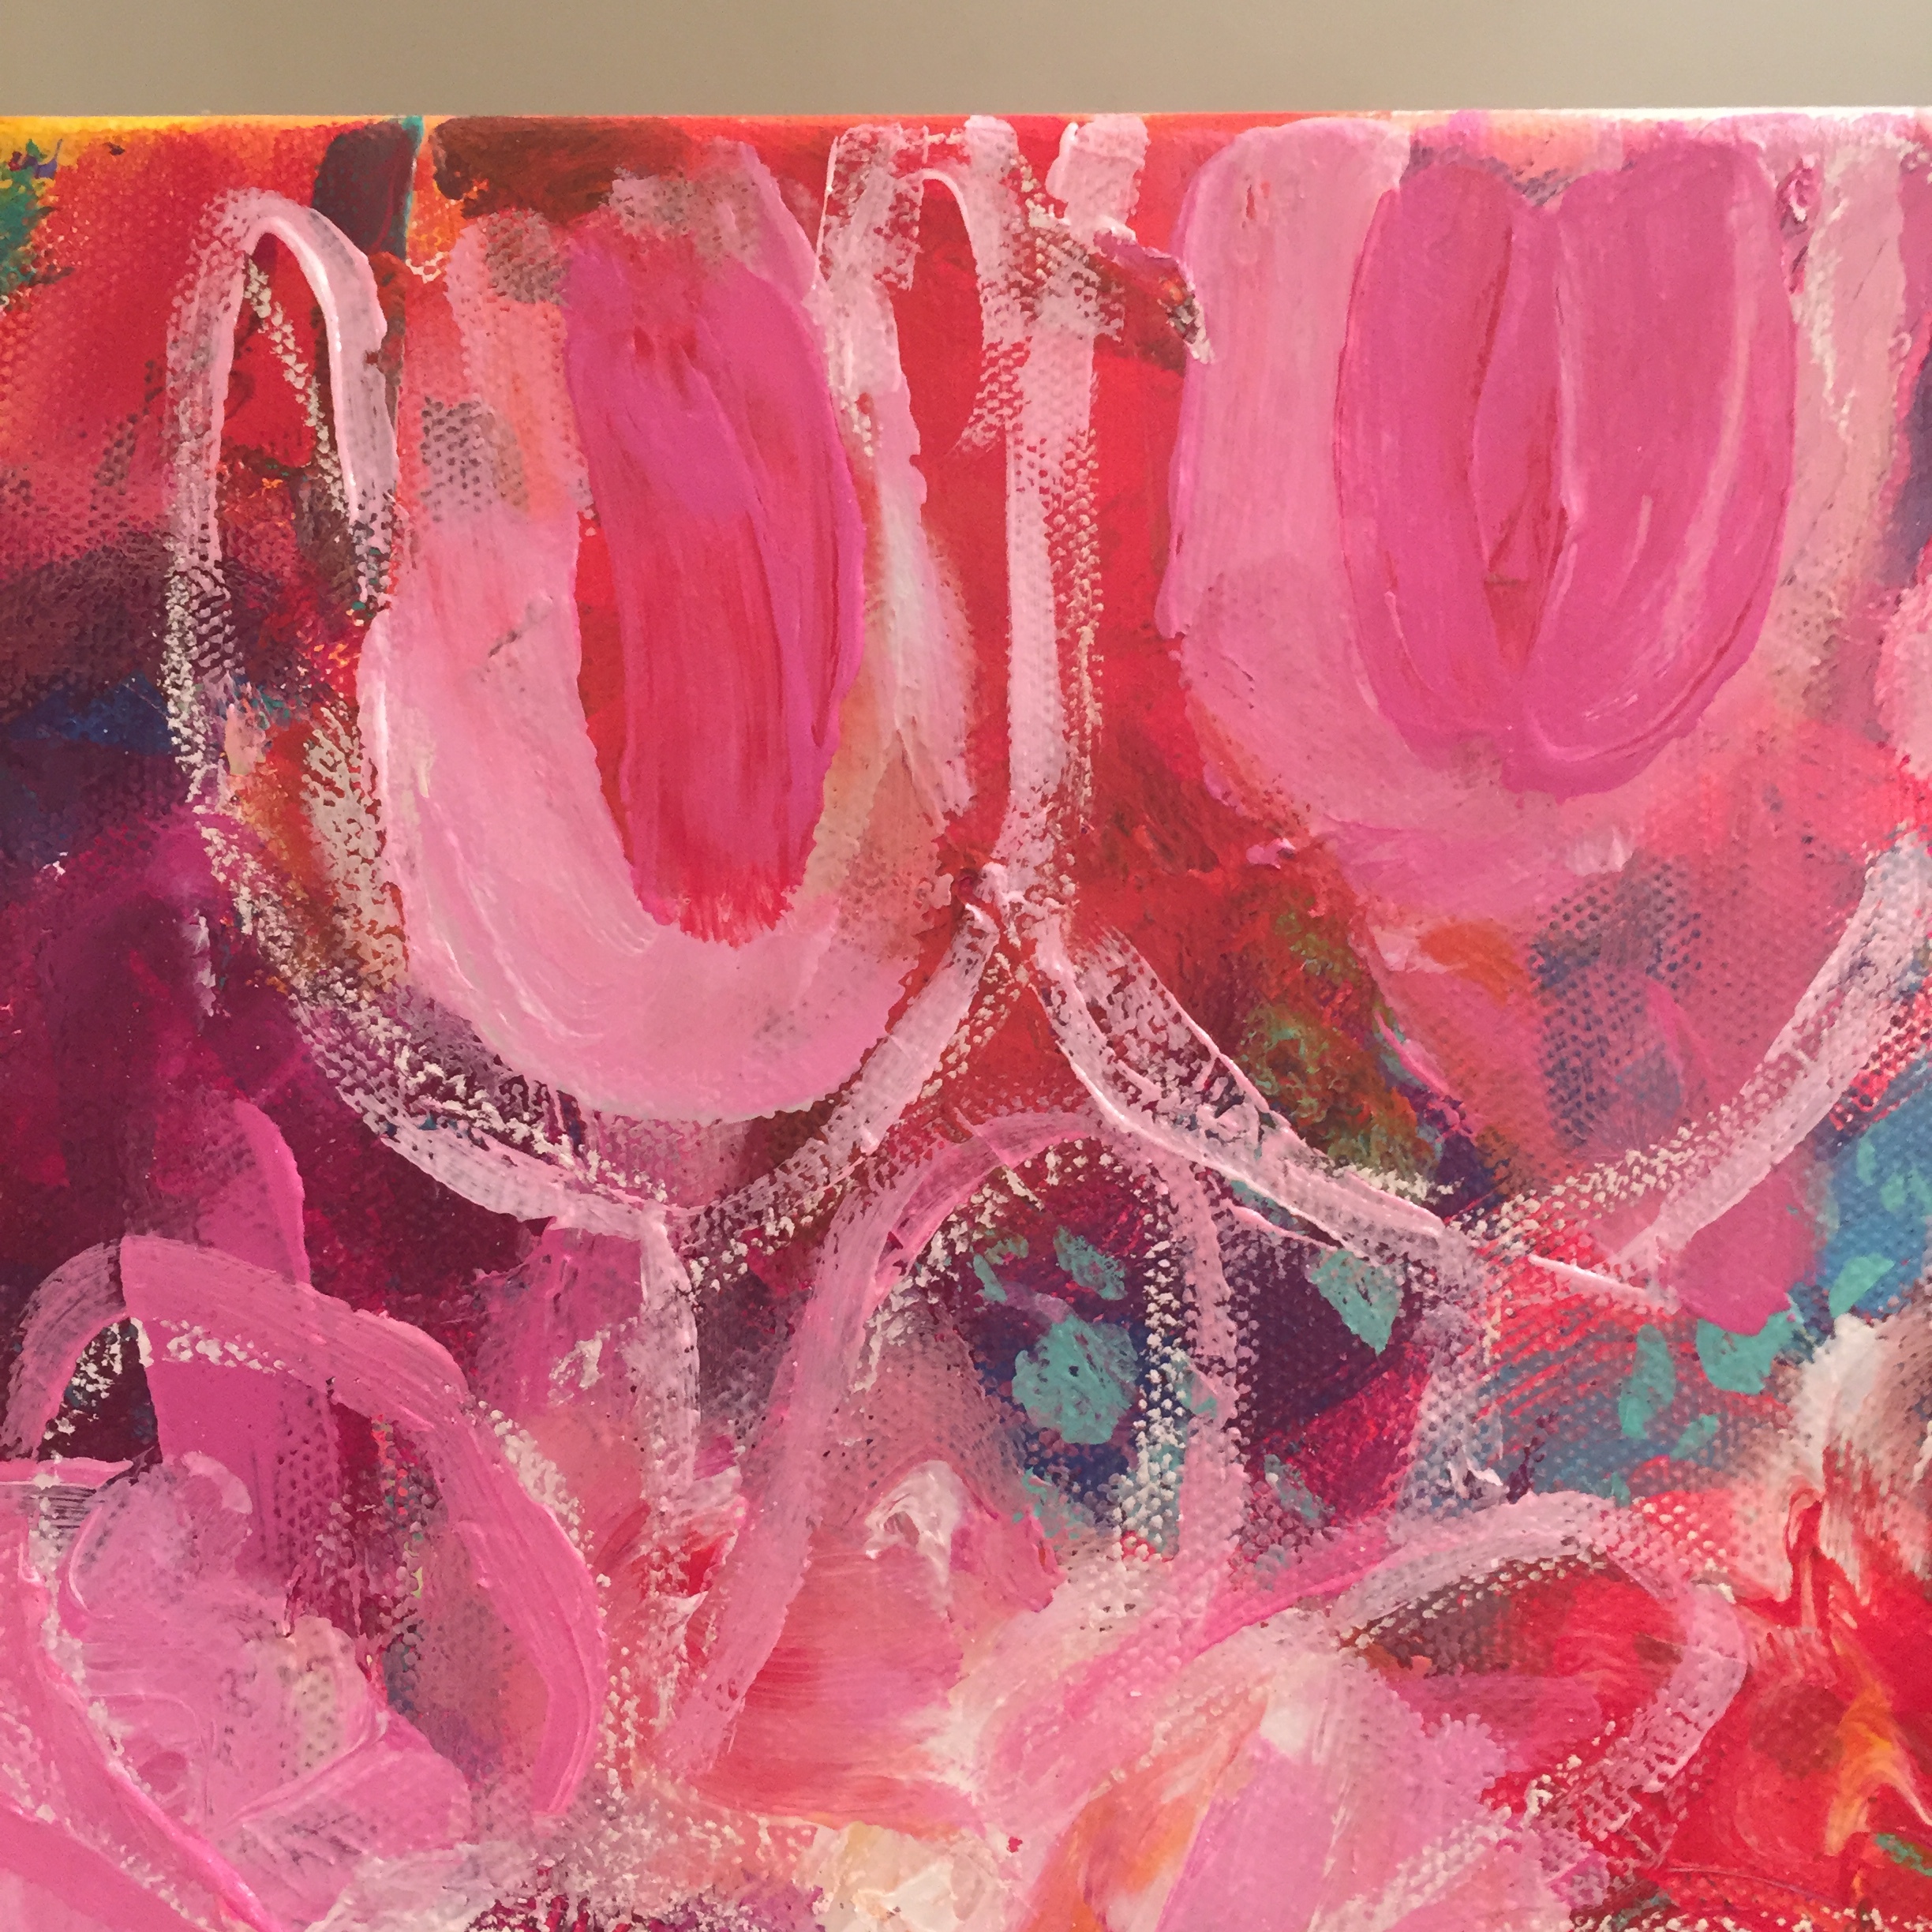
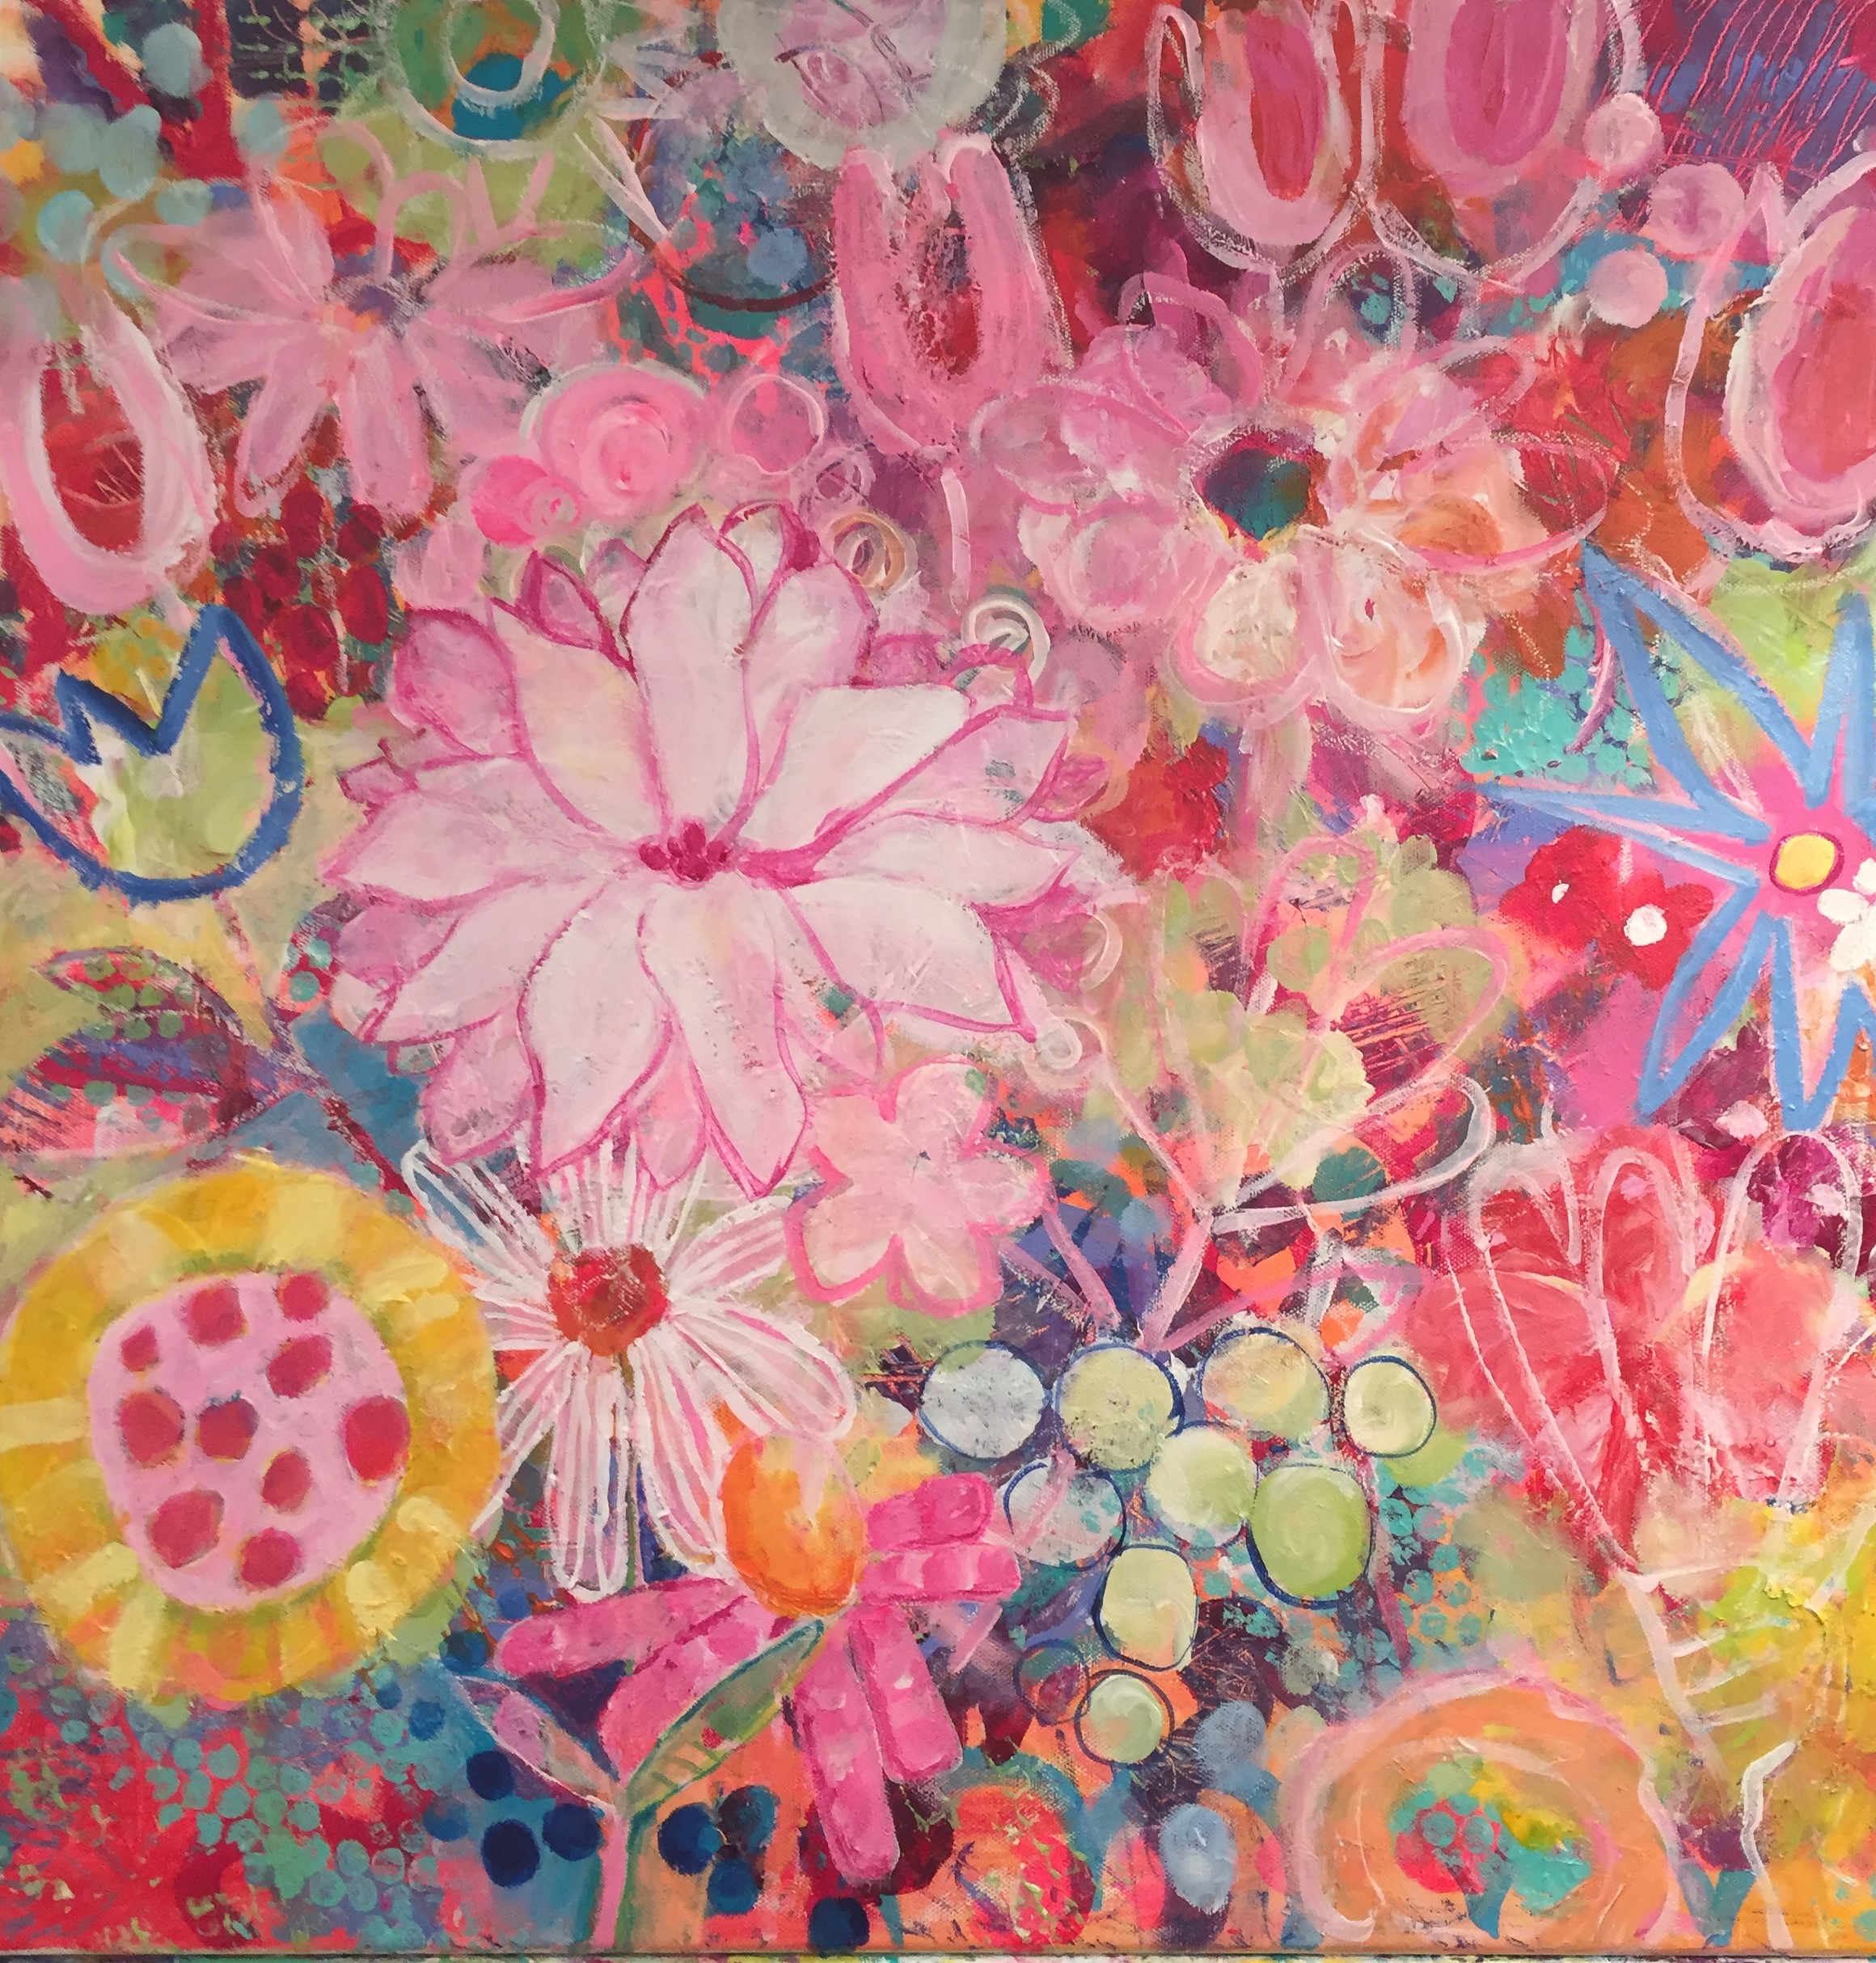
"GARDEN OLI0" Final art after layers and layers of color and shapes. CLICK HERE for more.
The following is a step-by-step picture description of how we proceeded after we had created our background of layers using cool and warm colors, stenciling, and marking tools. This has been a steep learning curve and I am so proud of all the painters for hanging in there and learning new skills that will enable flexibility and courage to try new ways of painting. Kudos to you all.
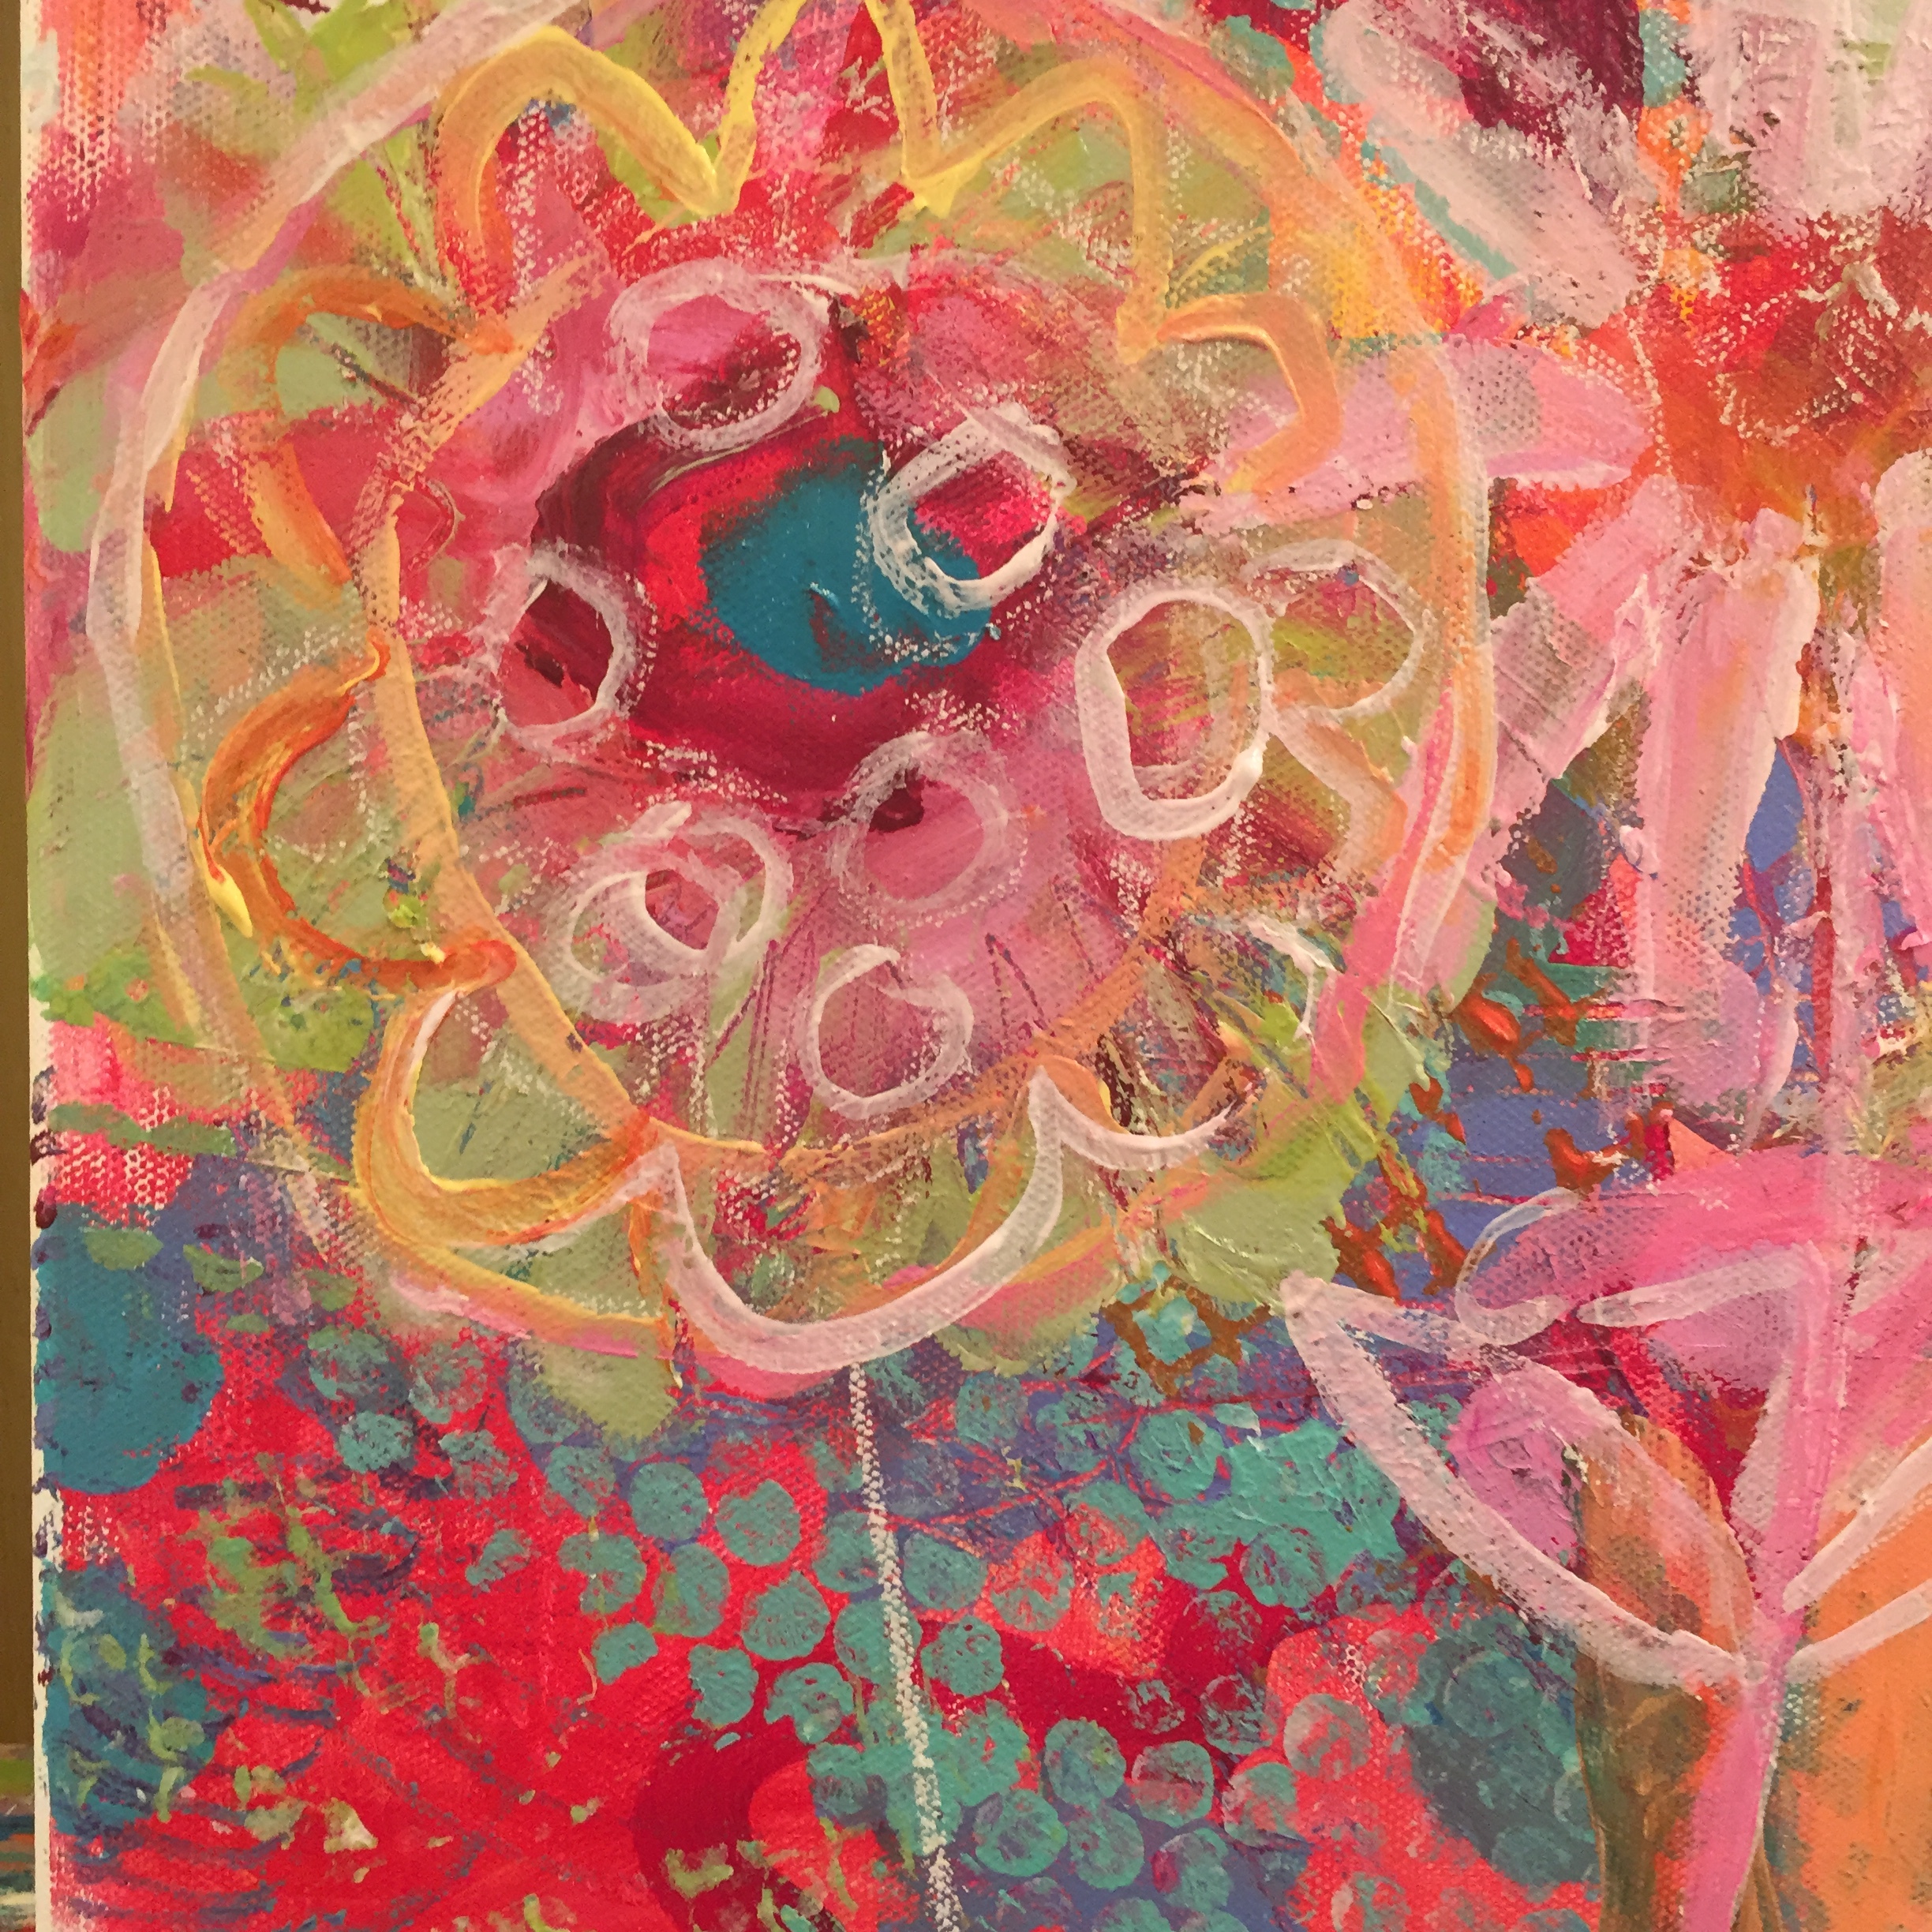
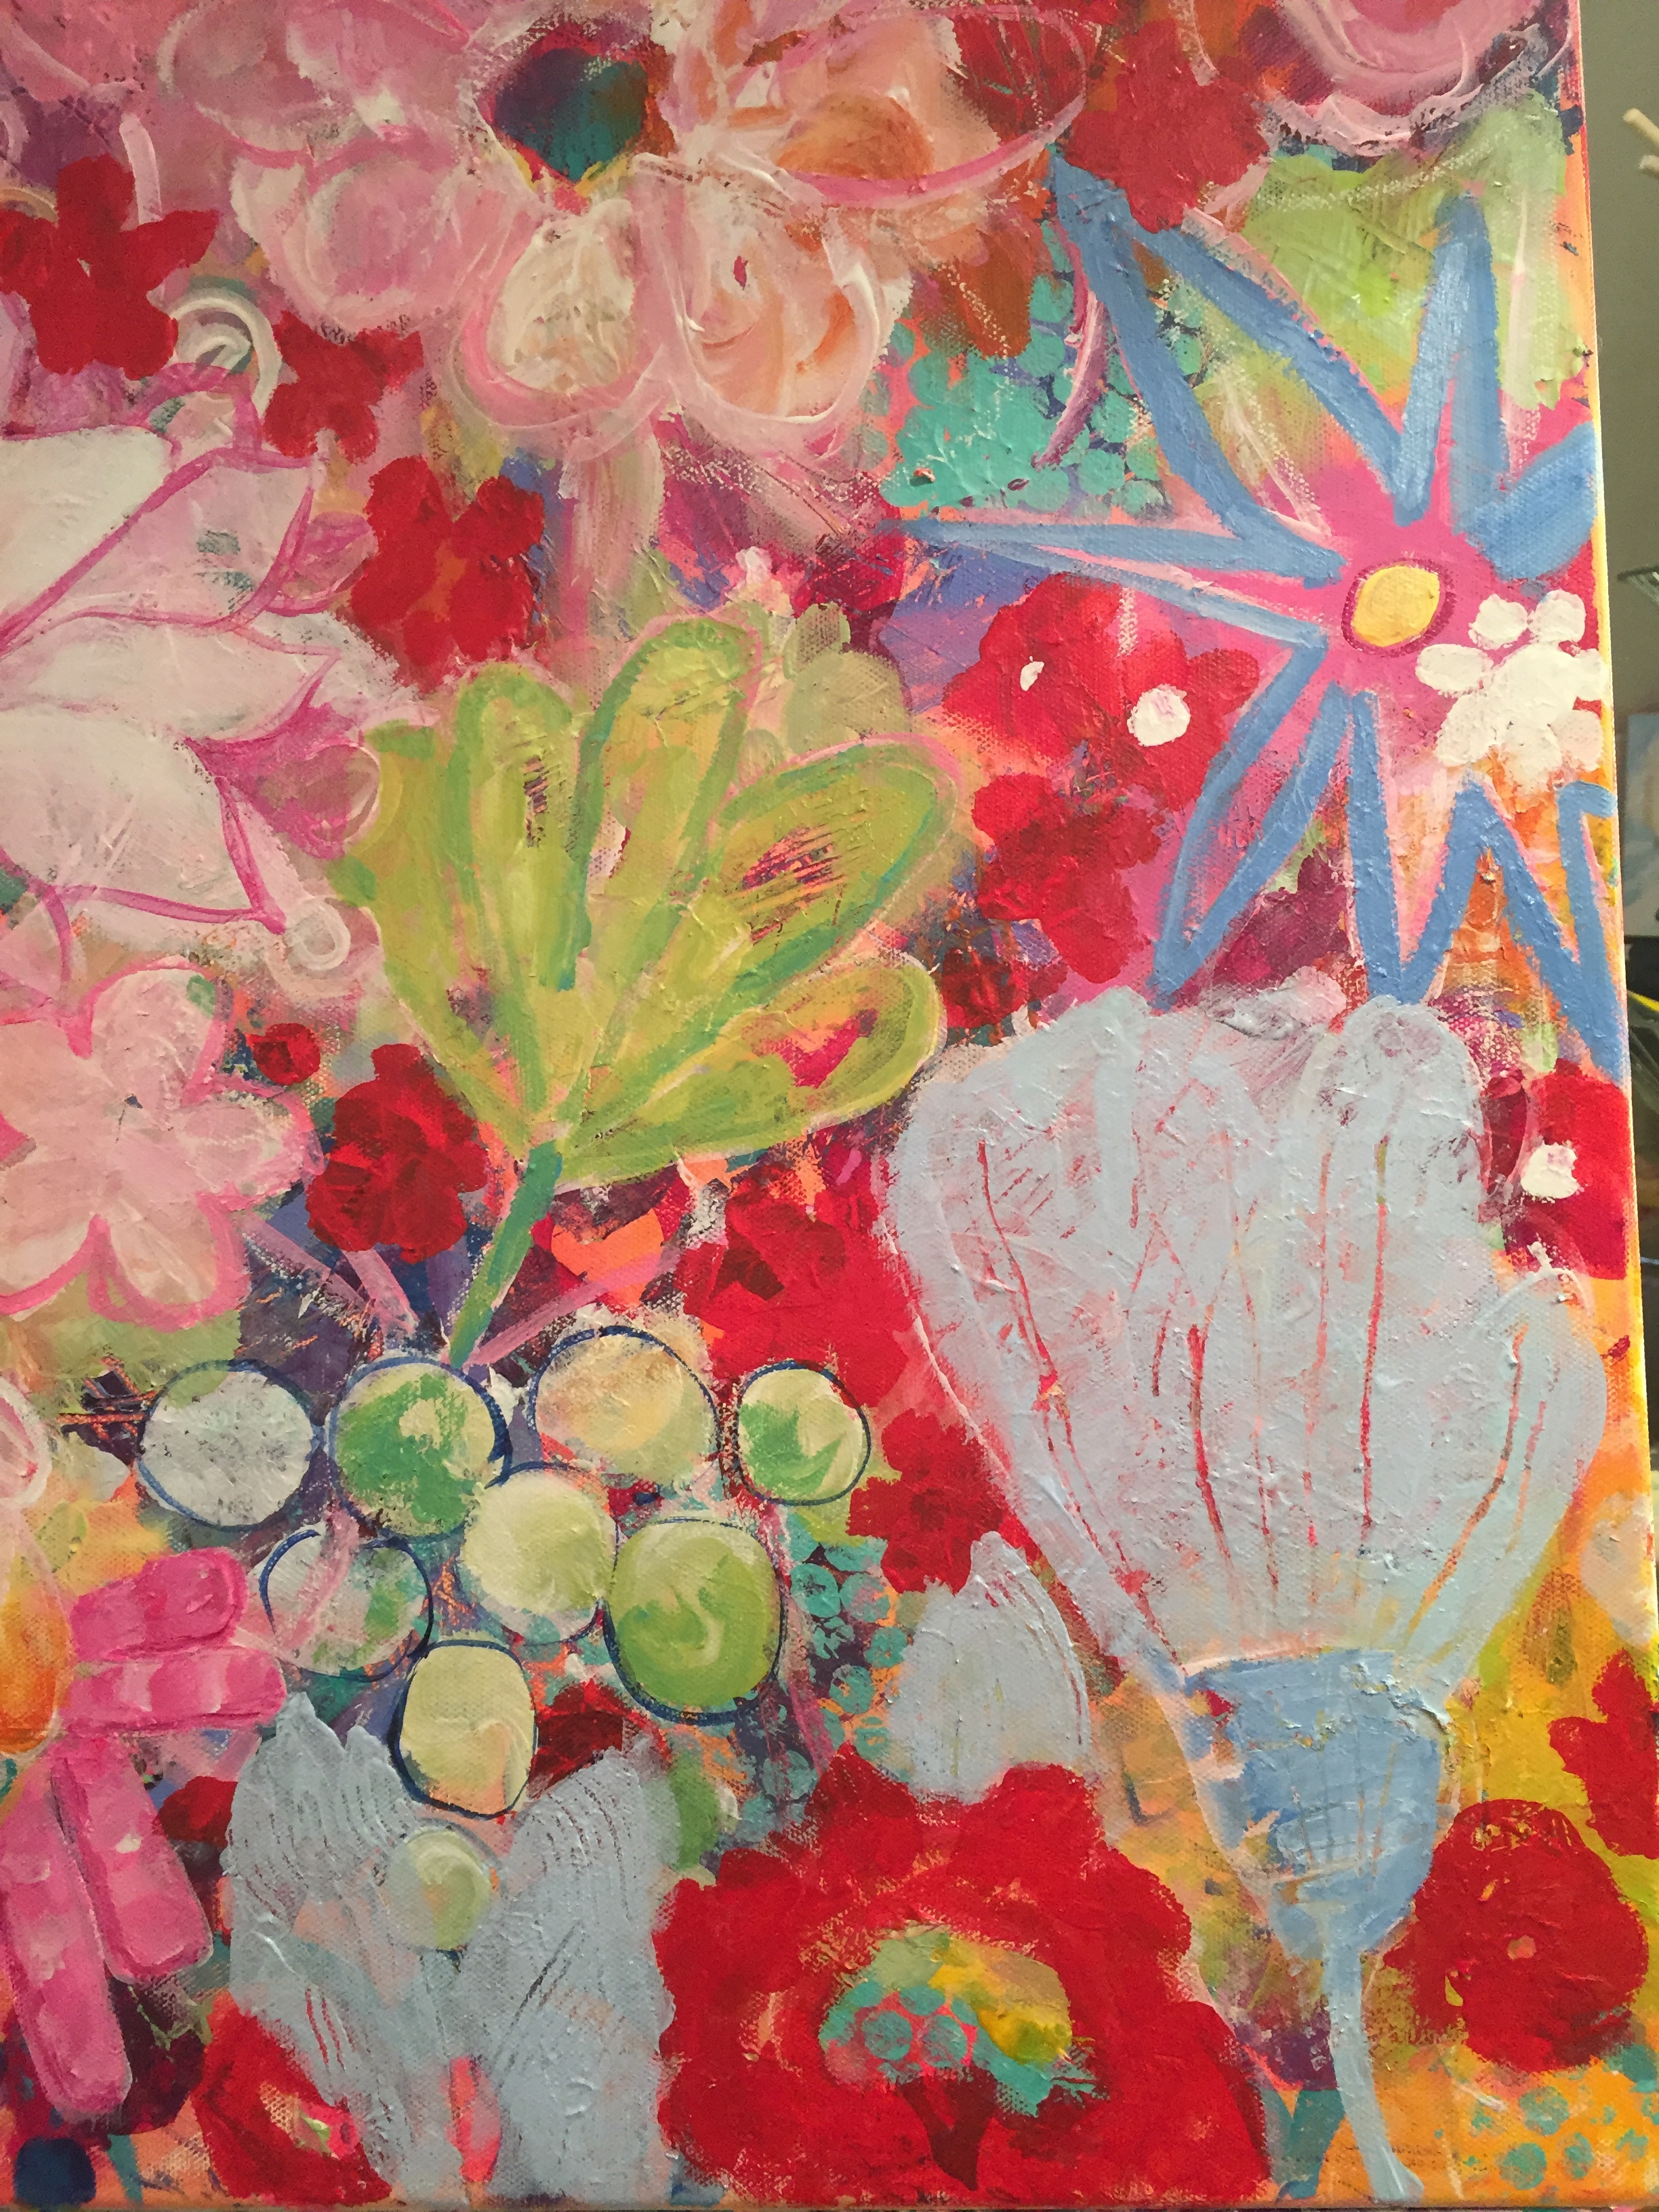
Applying favorite colors of paint in BIG areas, making the shape of roughly shaped flowers. Blocking out some of the background with solid areas of color, so flowers start to take shape and background calms.
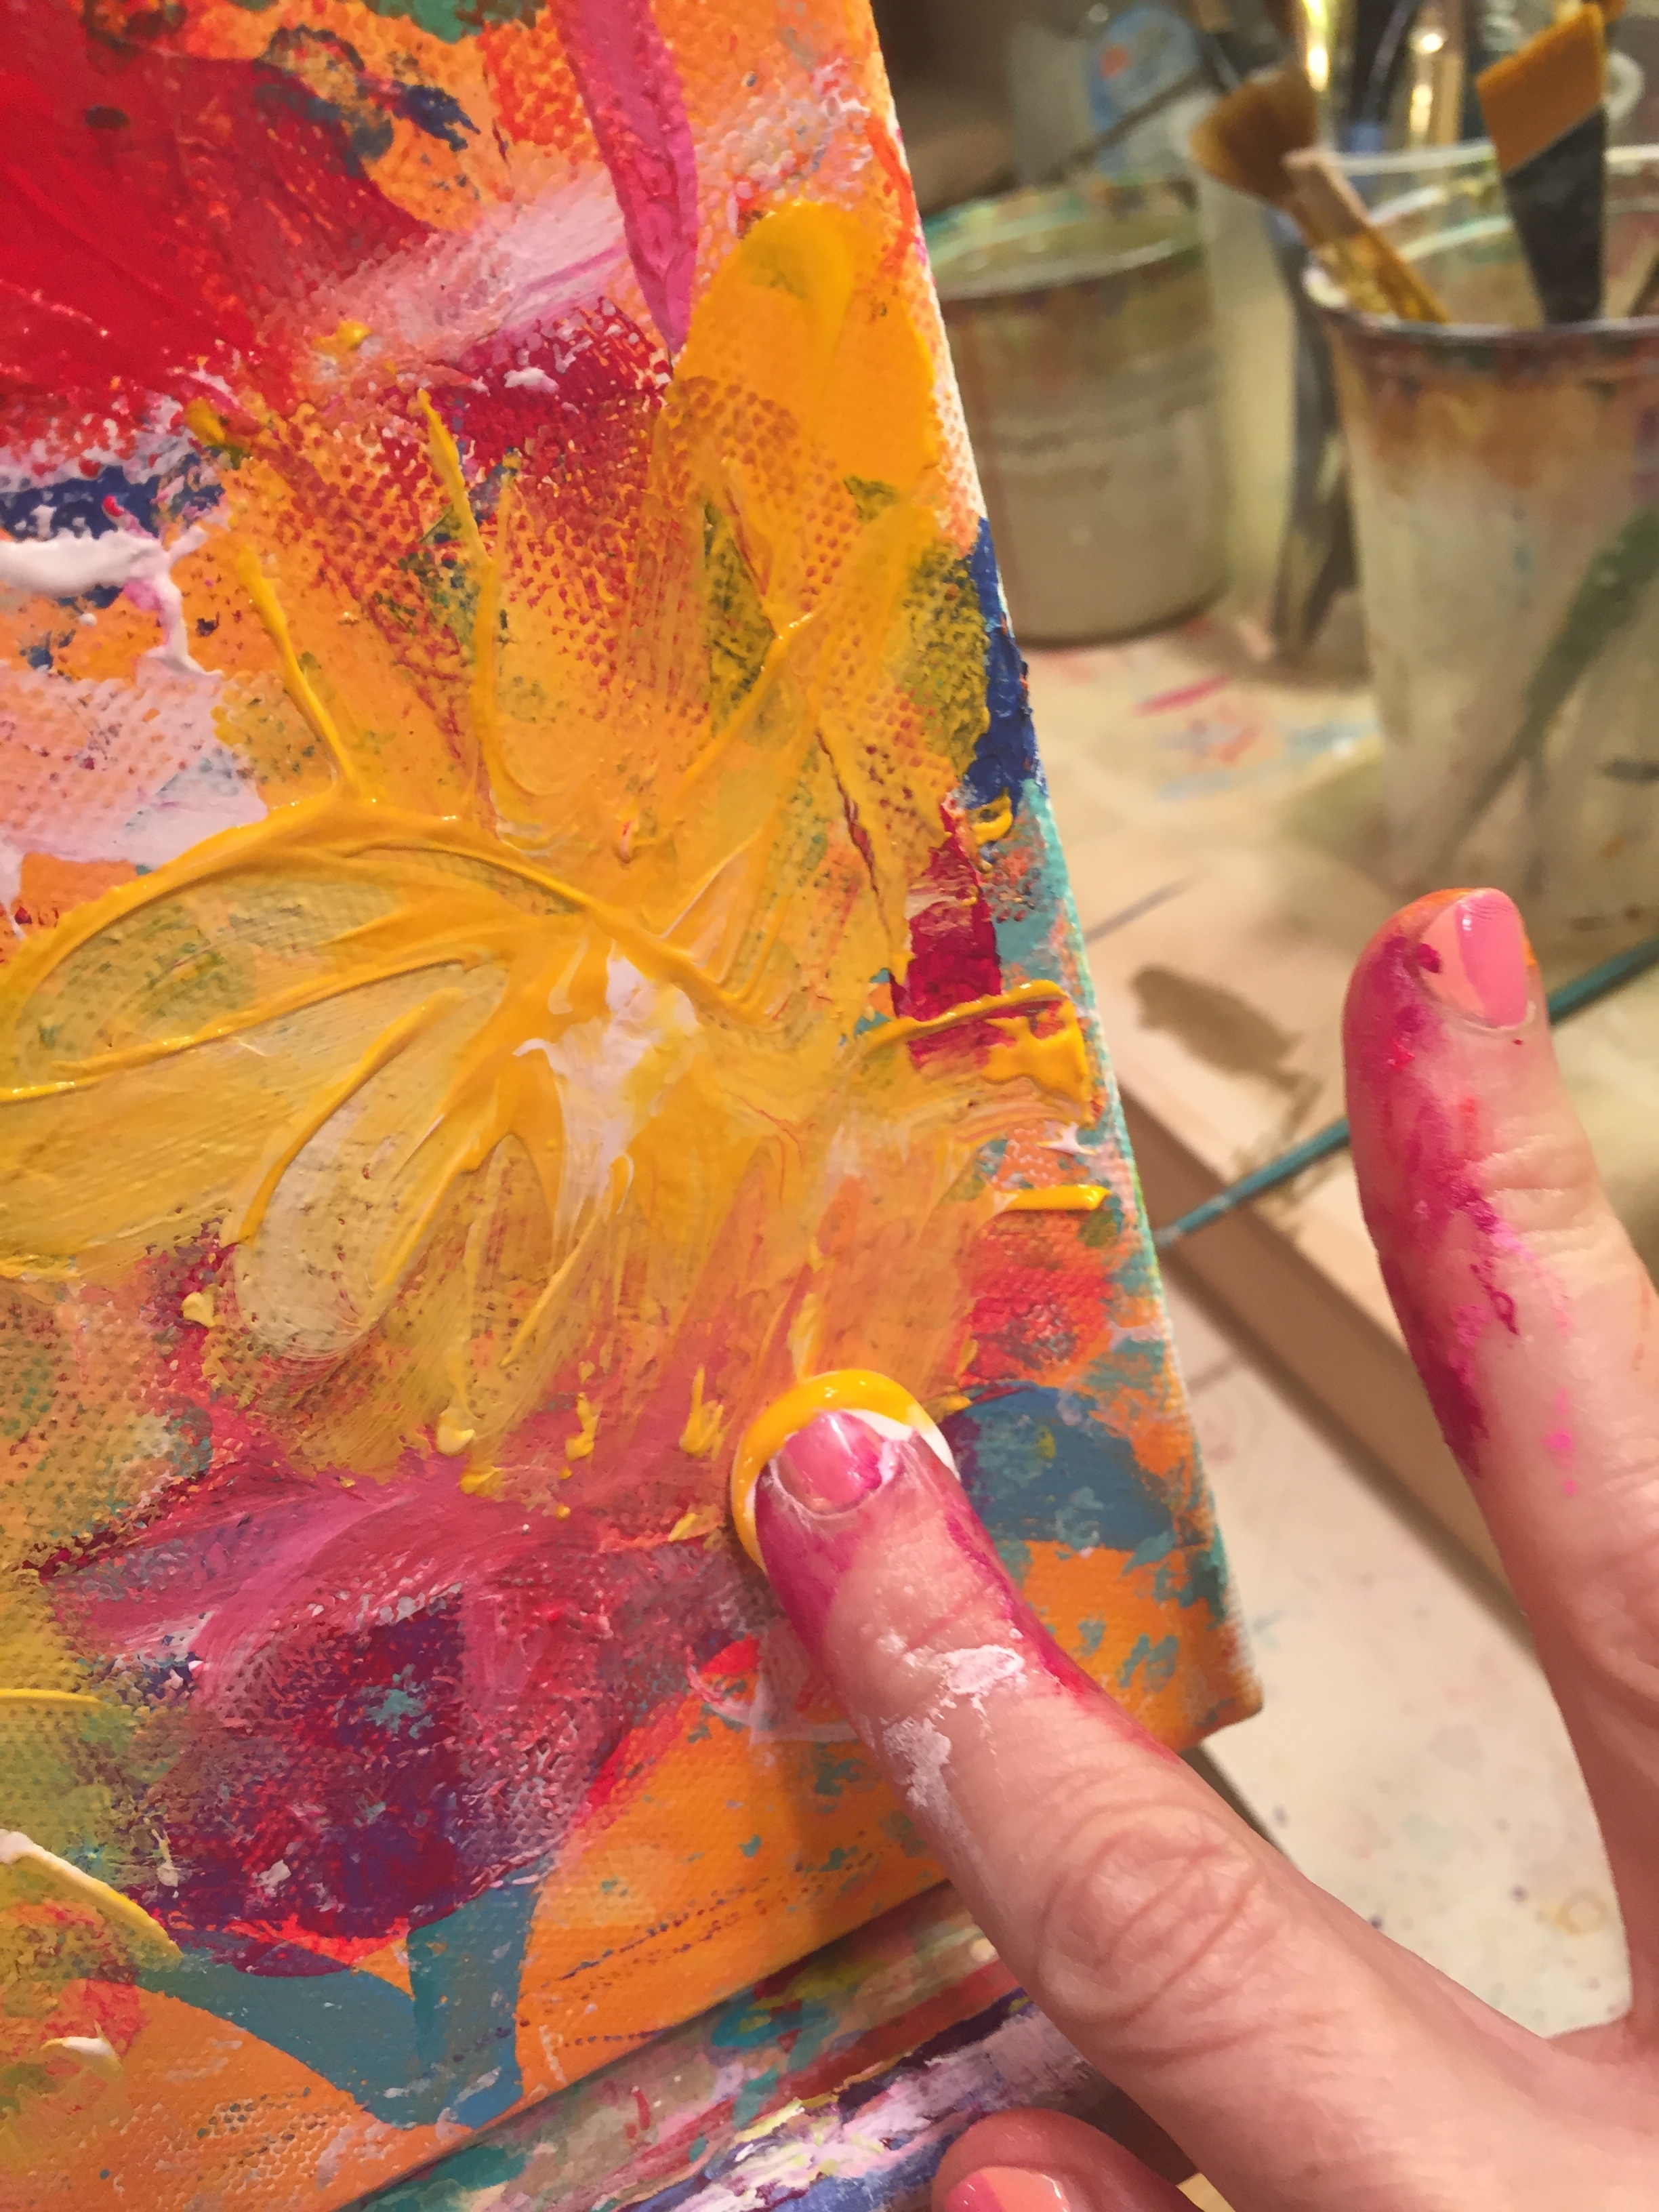
Continuing to brush and finger point in layers of paint forming flower shapes where we see them emerging as we imagine where they might fit among the colors and shapes.
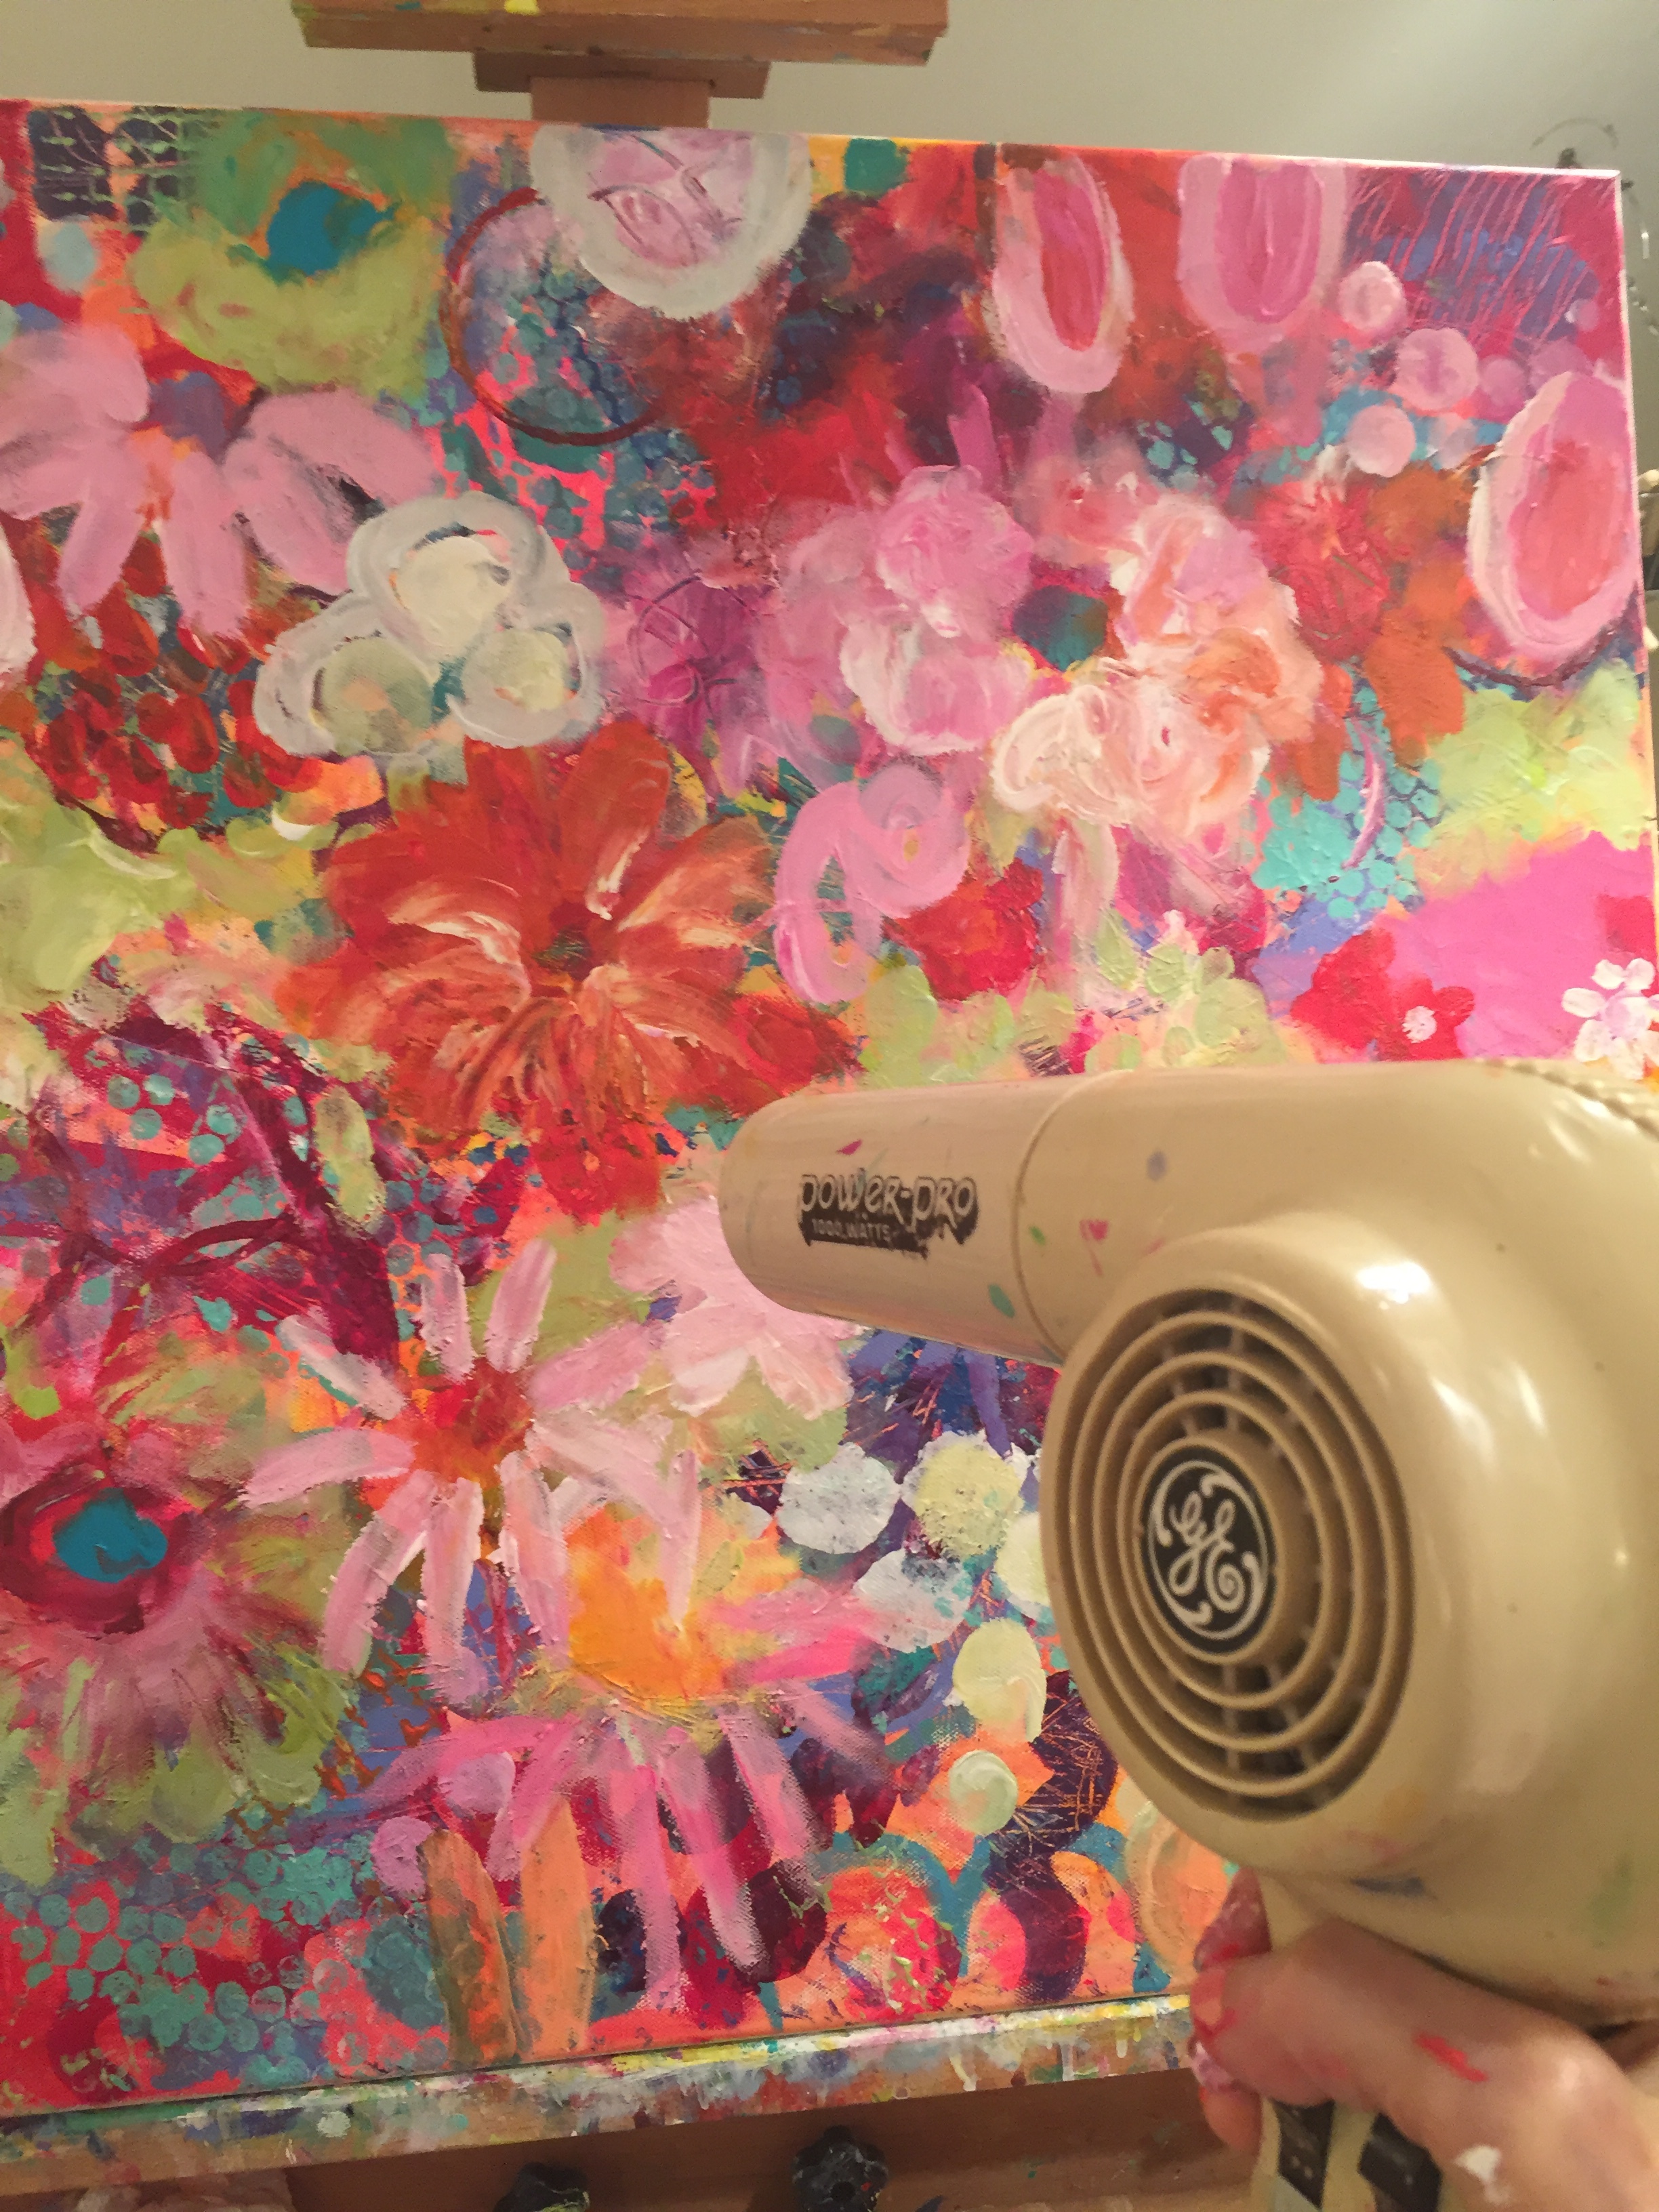
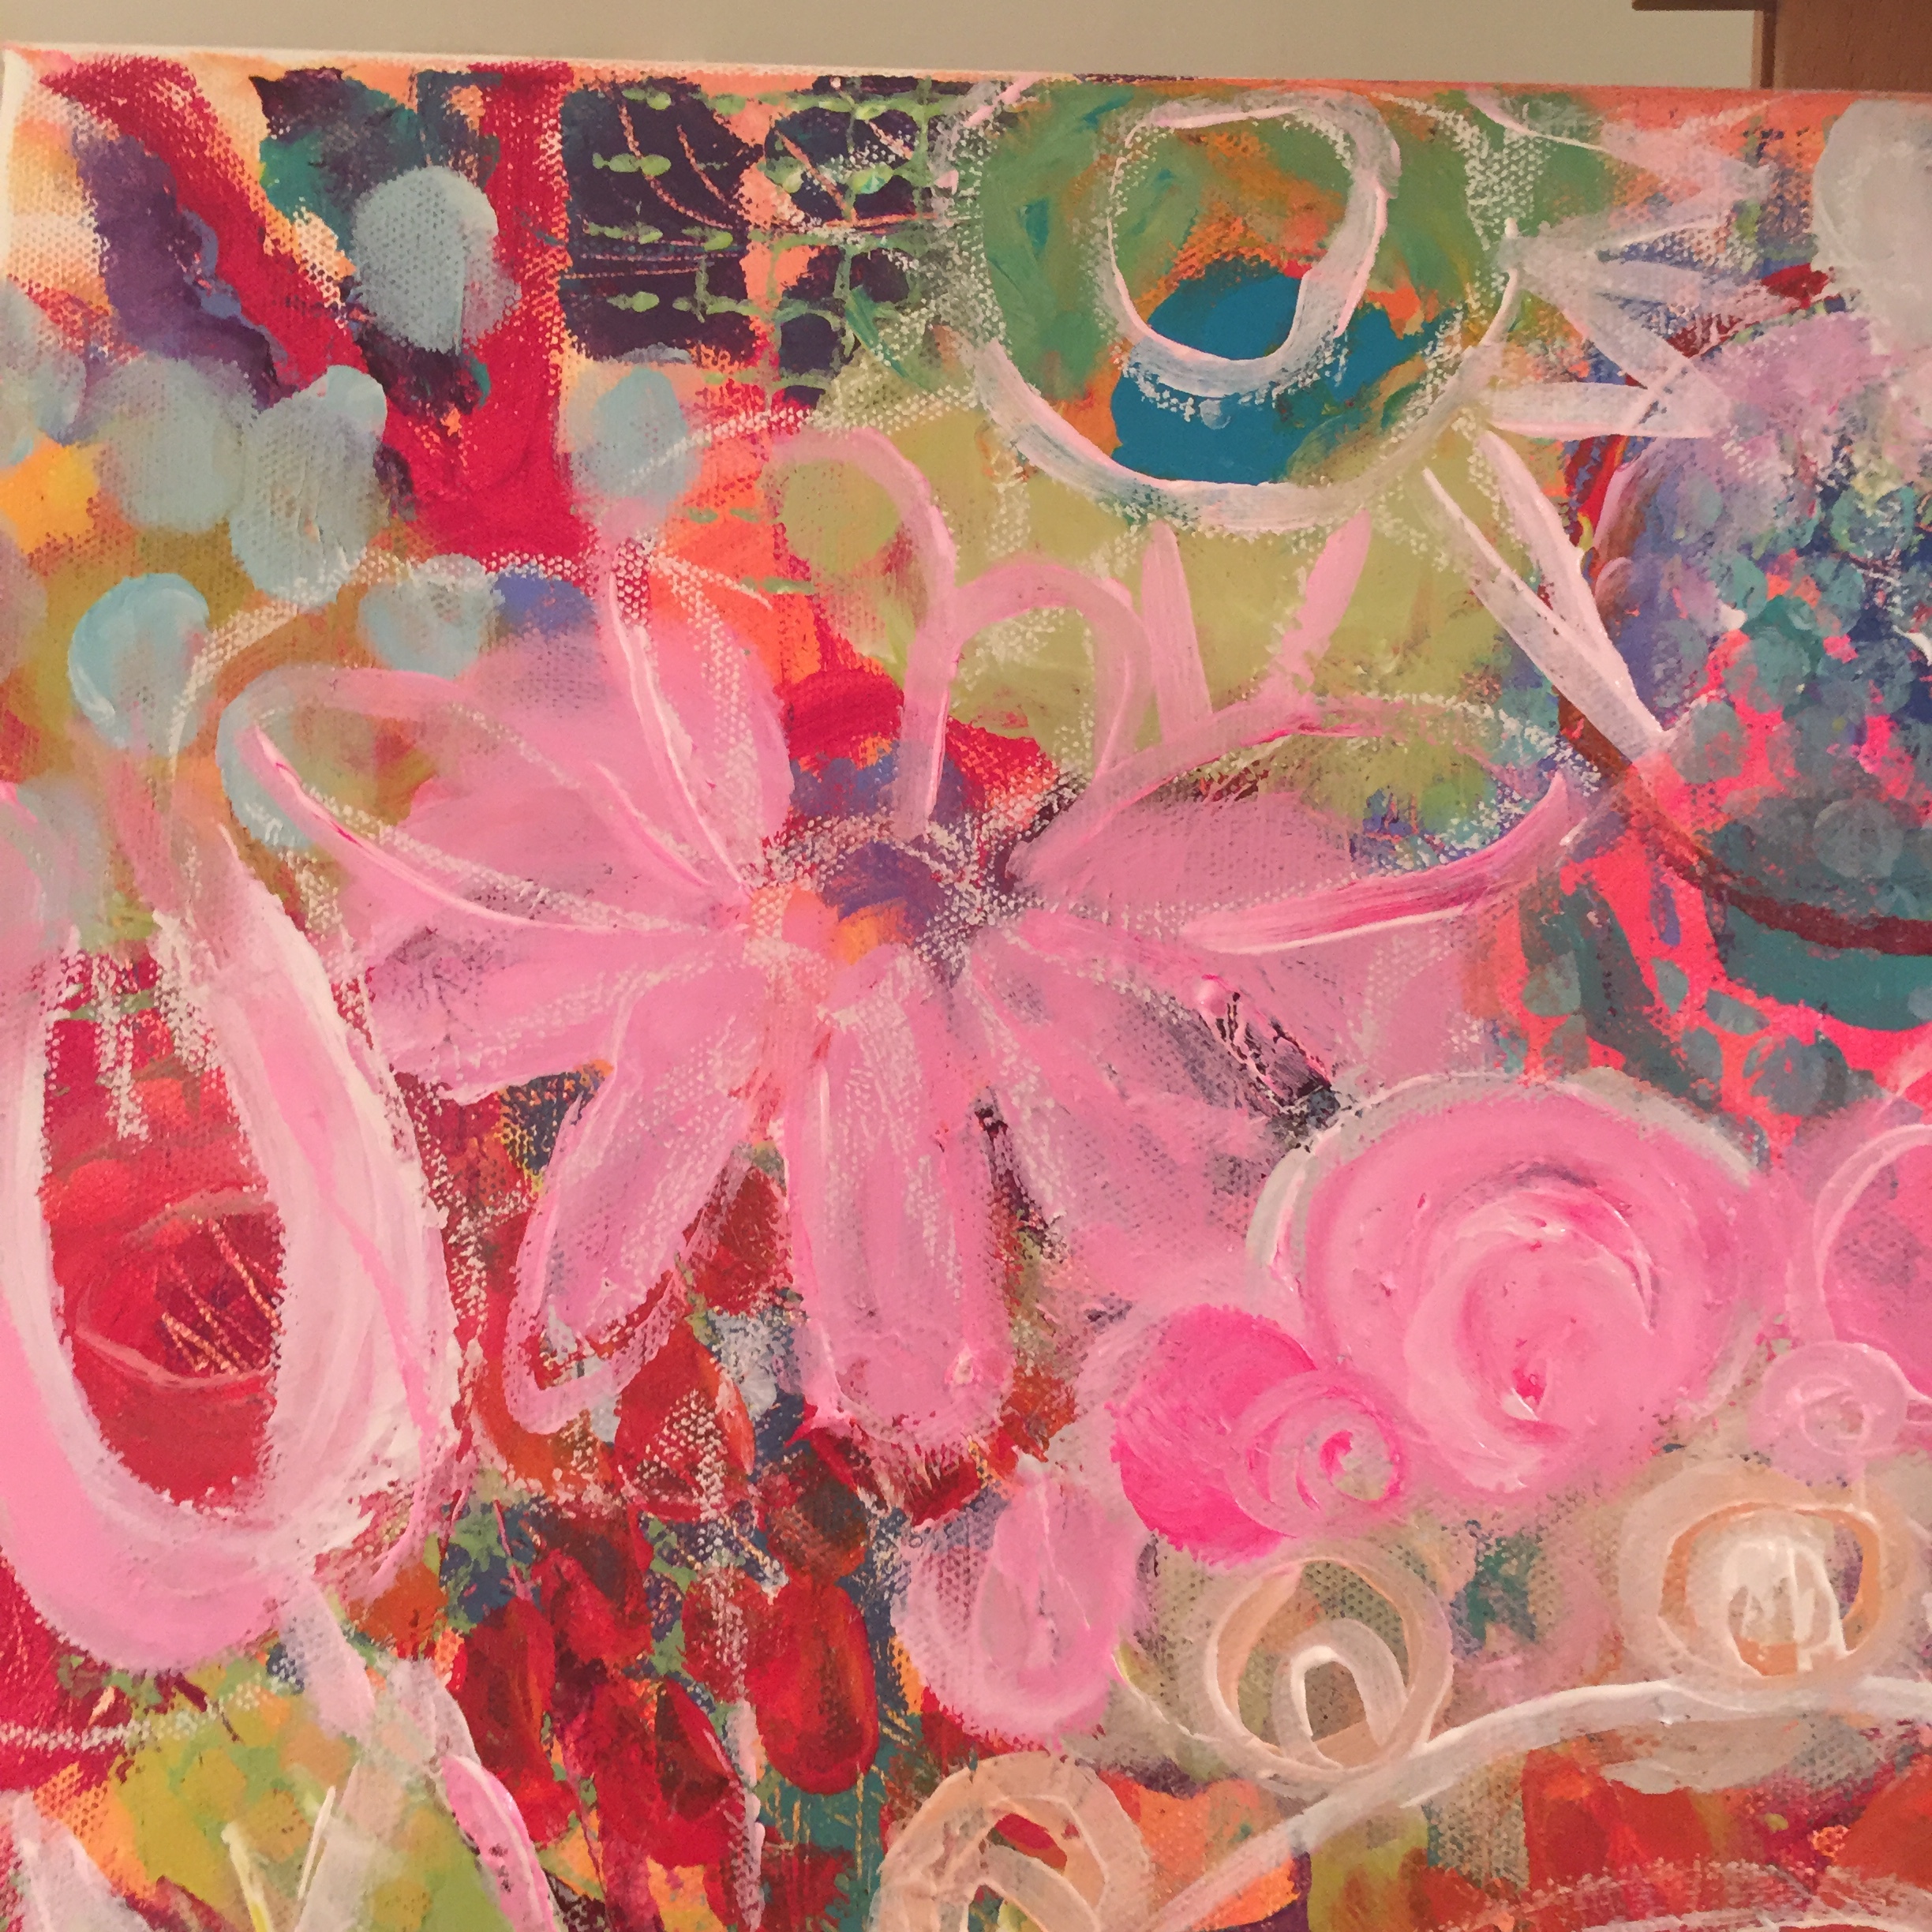
As flowers are added, dry thoroughly before adding more. After initial flower shapes are added, take chalk and revise shapes and begin to revise colors on the flowers. Paint over the existing colors until you get a pleasing design. This can take several layers to get what you like.
I was playing around with lots of shapes and colors trying to get what I liked. I worked a long time getting the white flower "right". Later on you will see I totally painted it out and added completely different shaped flowers and leaves.
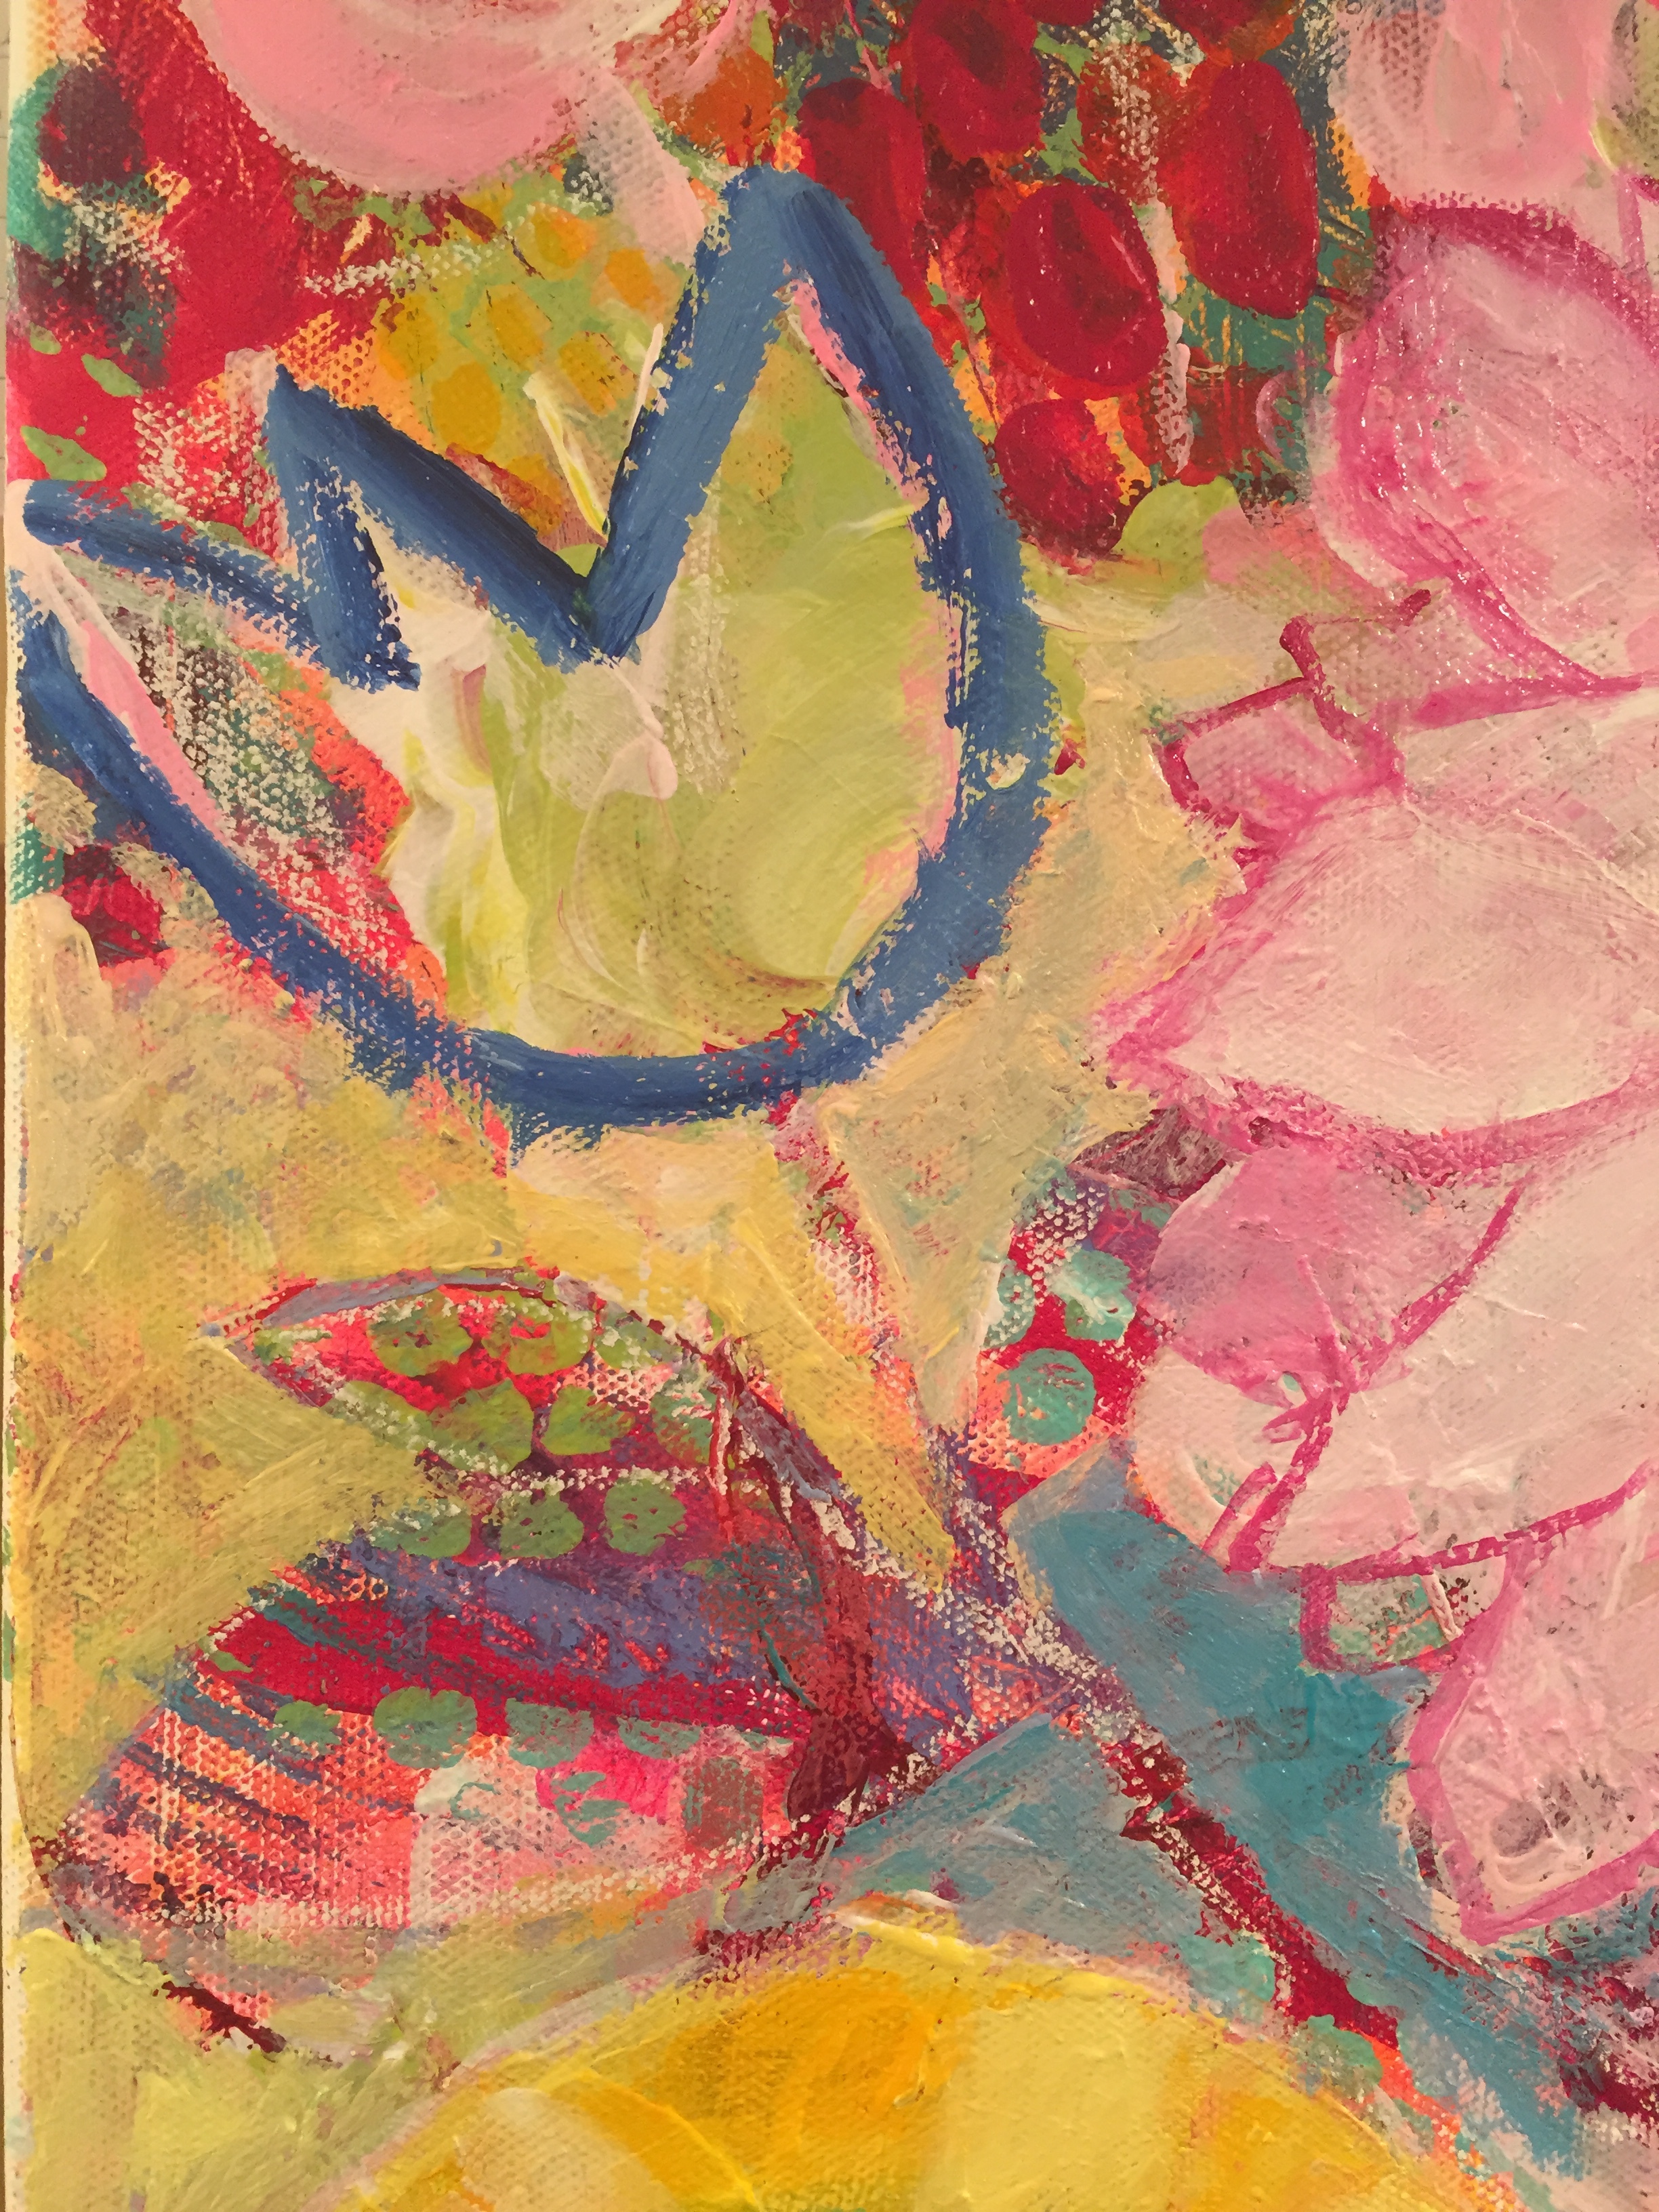
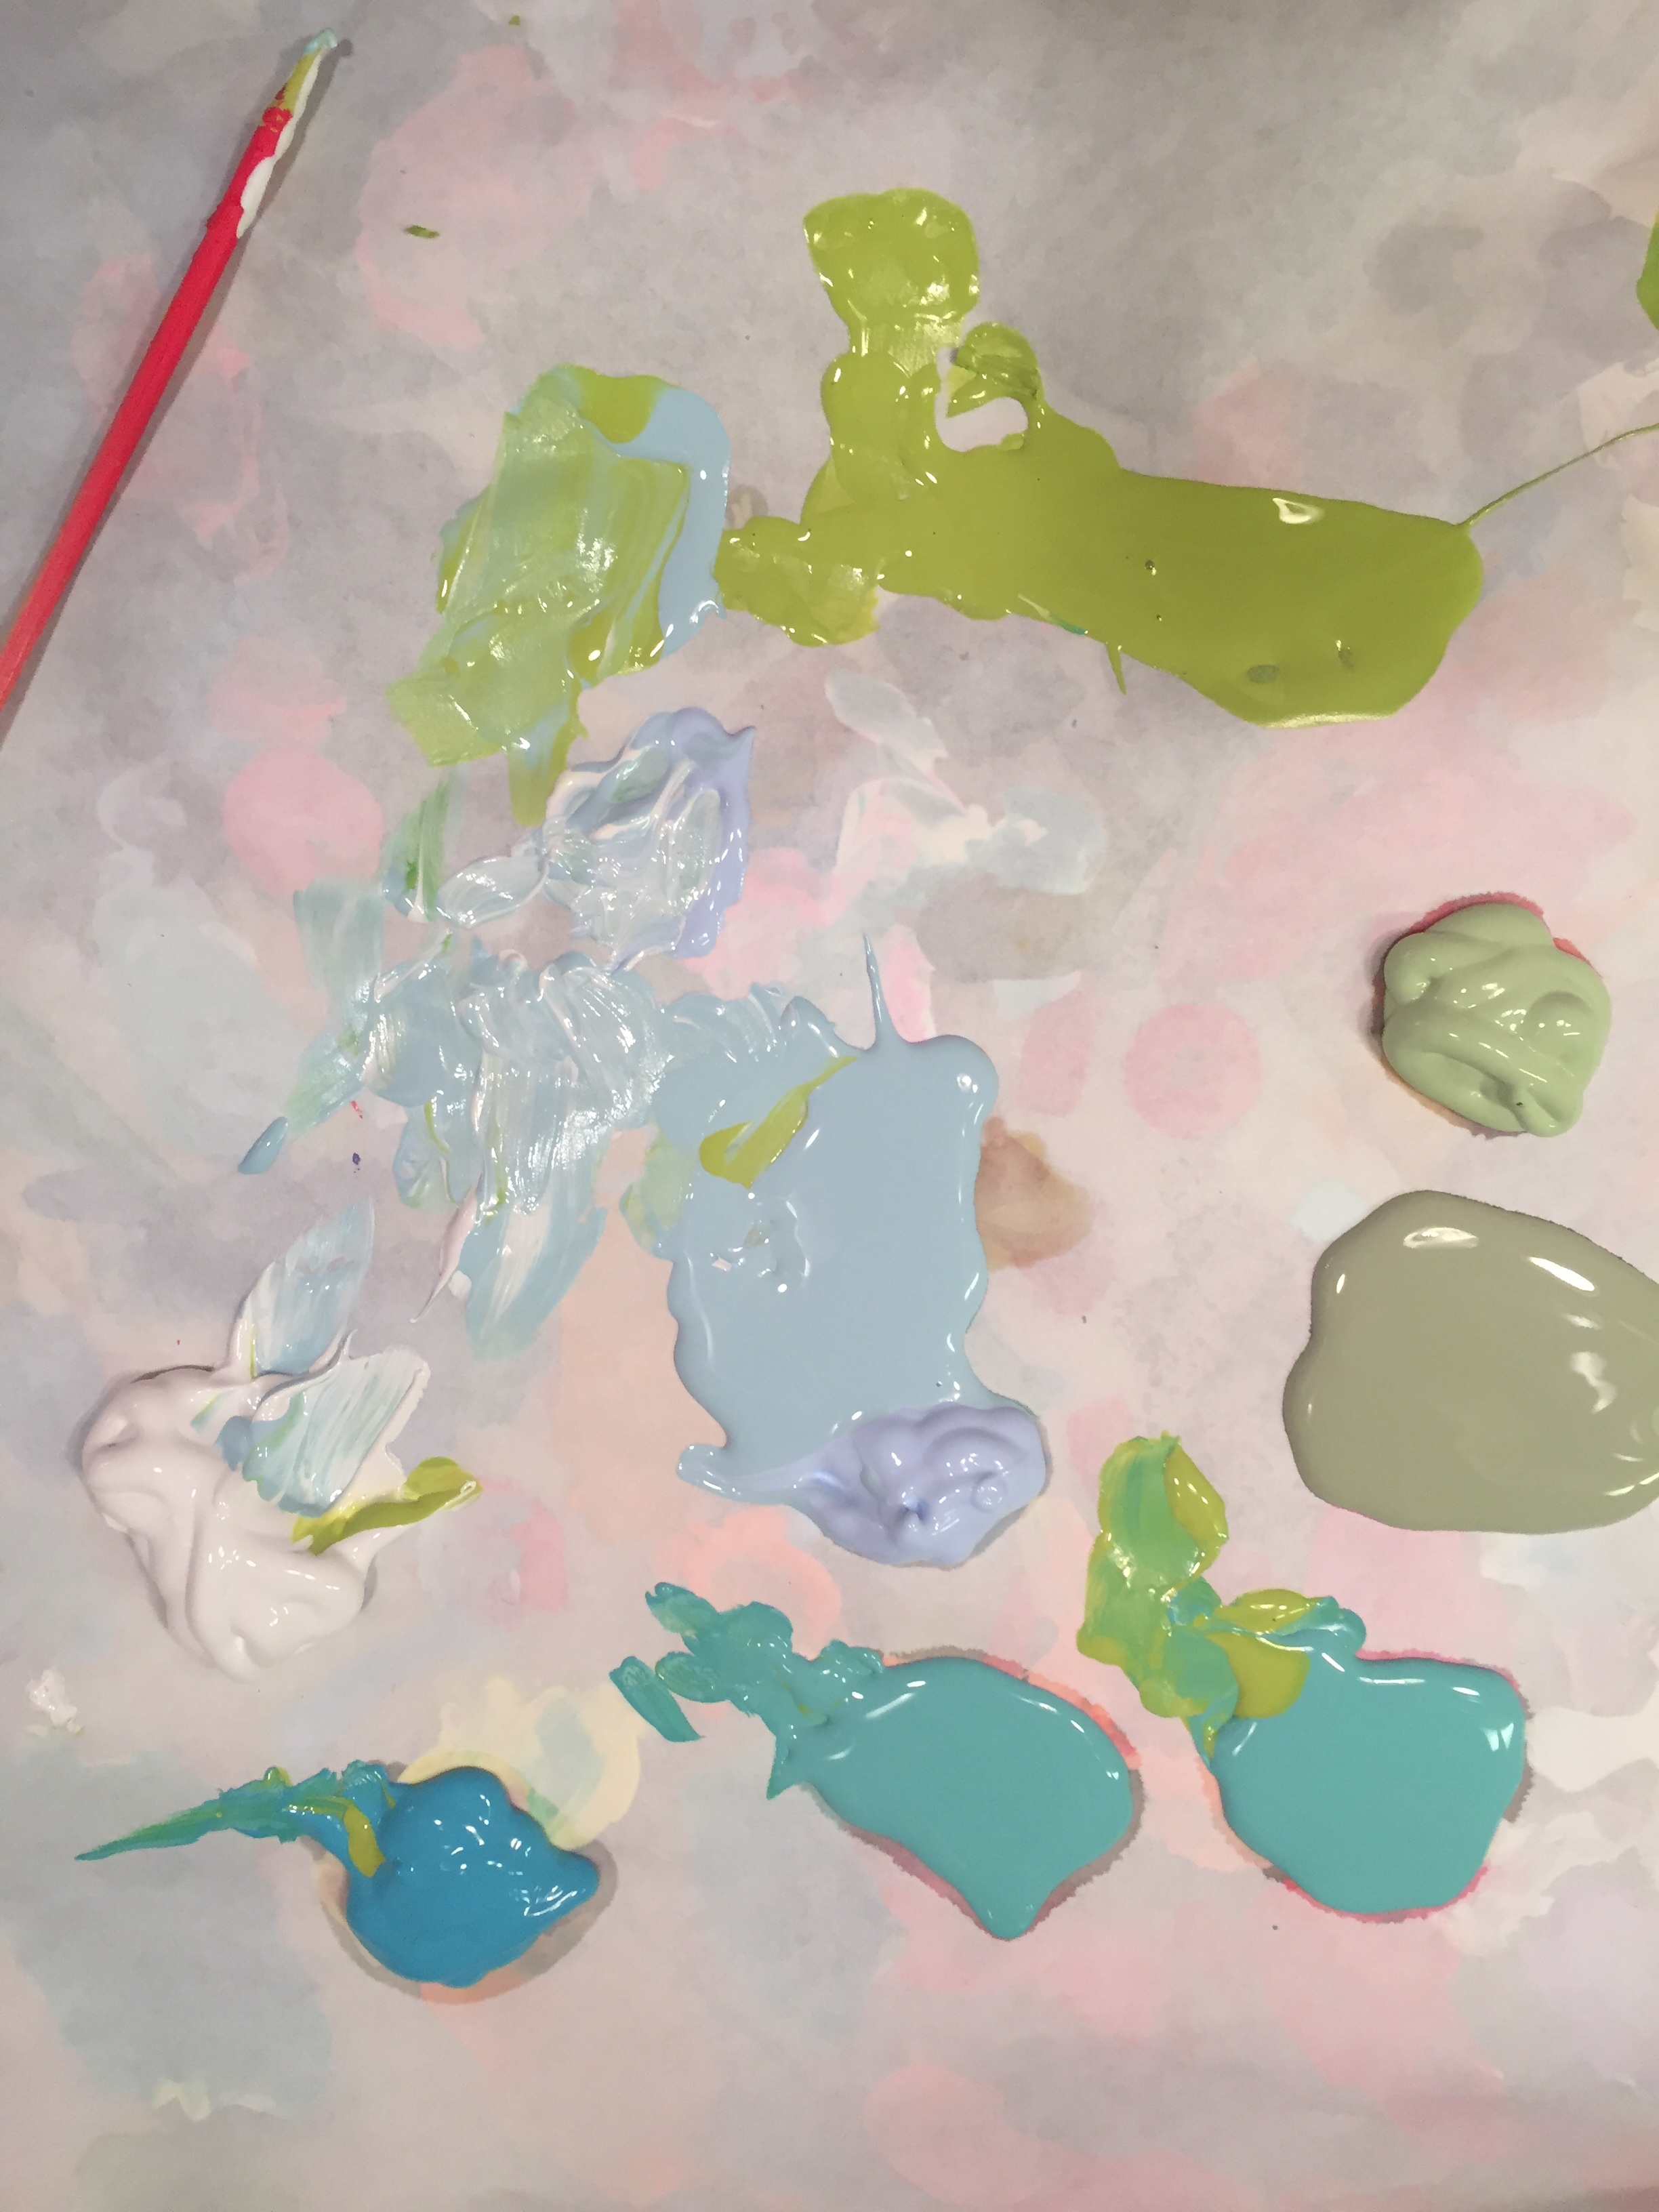
It can be helpful to get a new palette sheet out and squeeze out just a few new colors and start painting over shapes you don't like as I did in the middle pic where I added the blue shapes. By the 3rd pic in this row I was getting TIRED. I was not excited about it. I wasn't sure what I wanted to do, so I posted a PIP (painting in progress) on Instagram and went to bed!
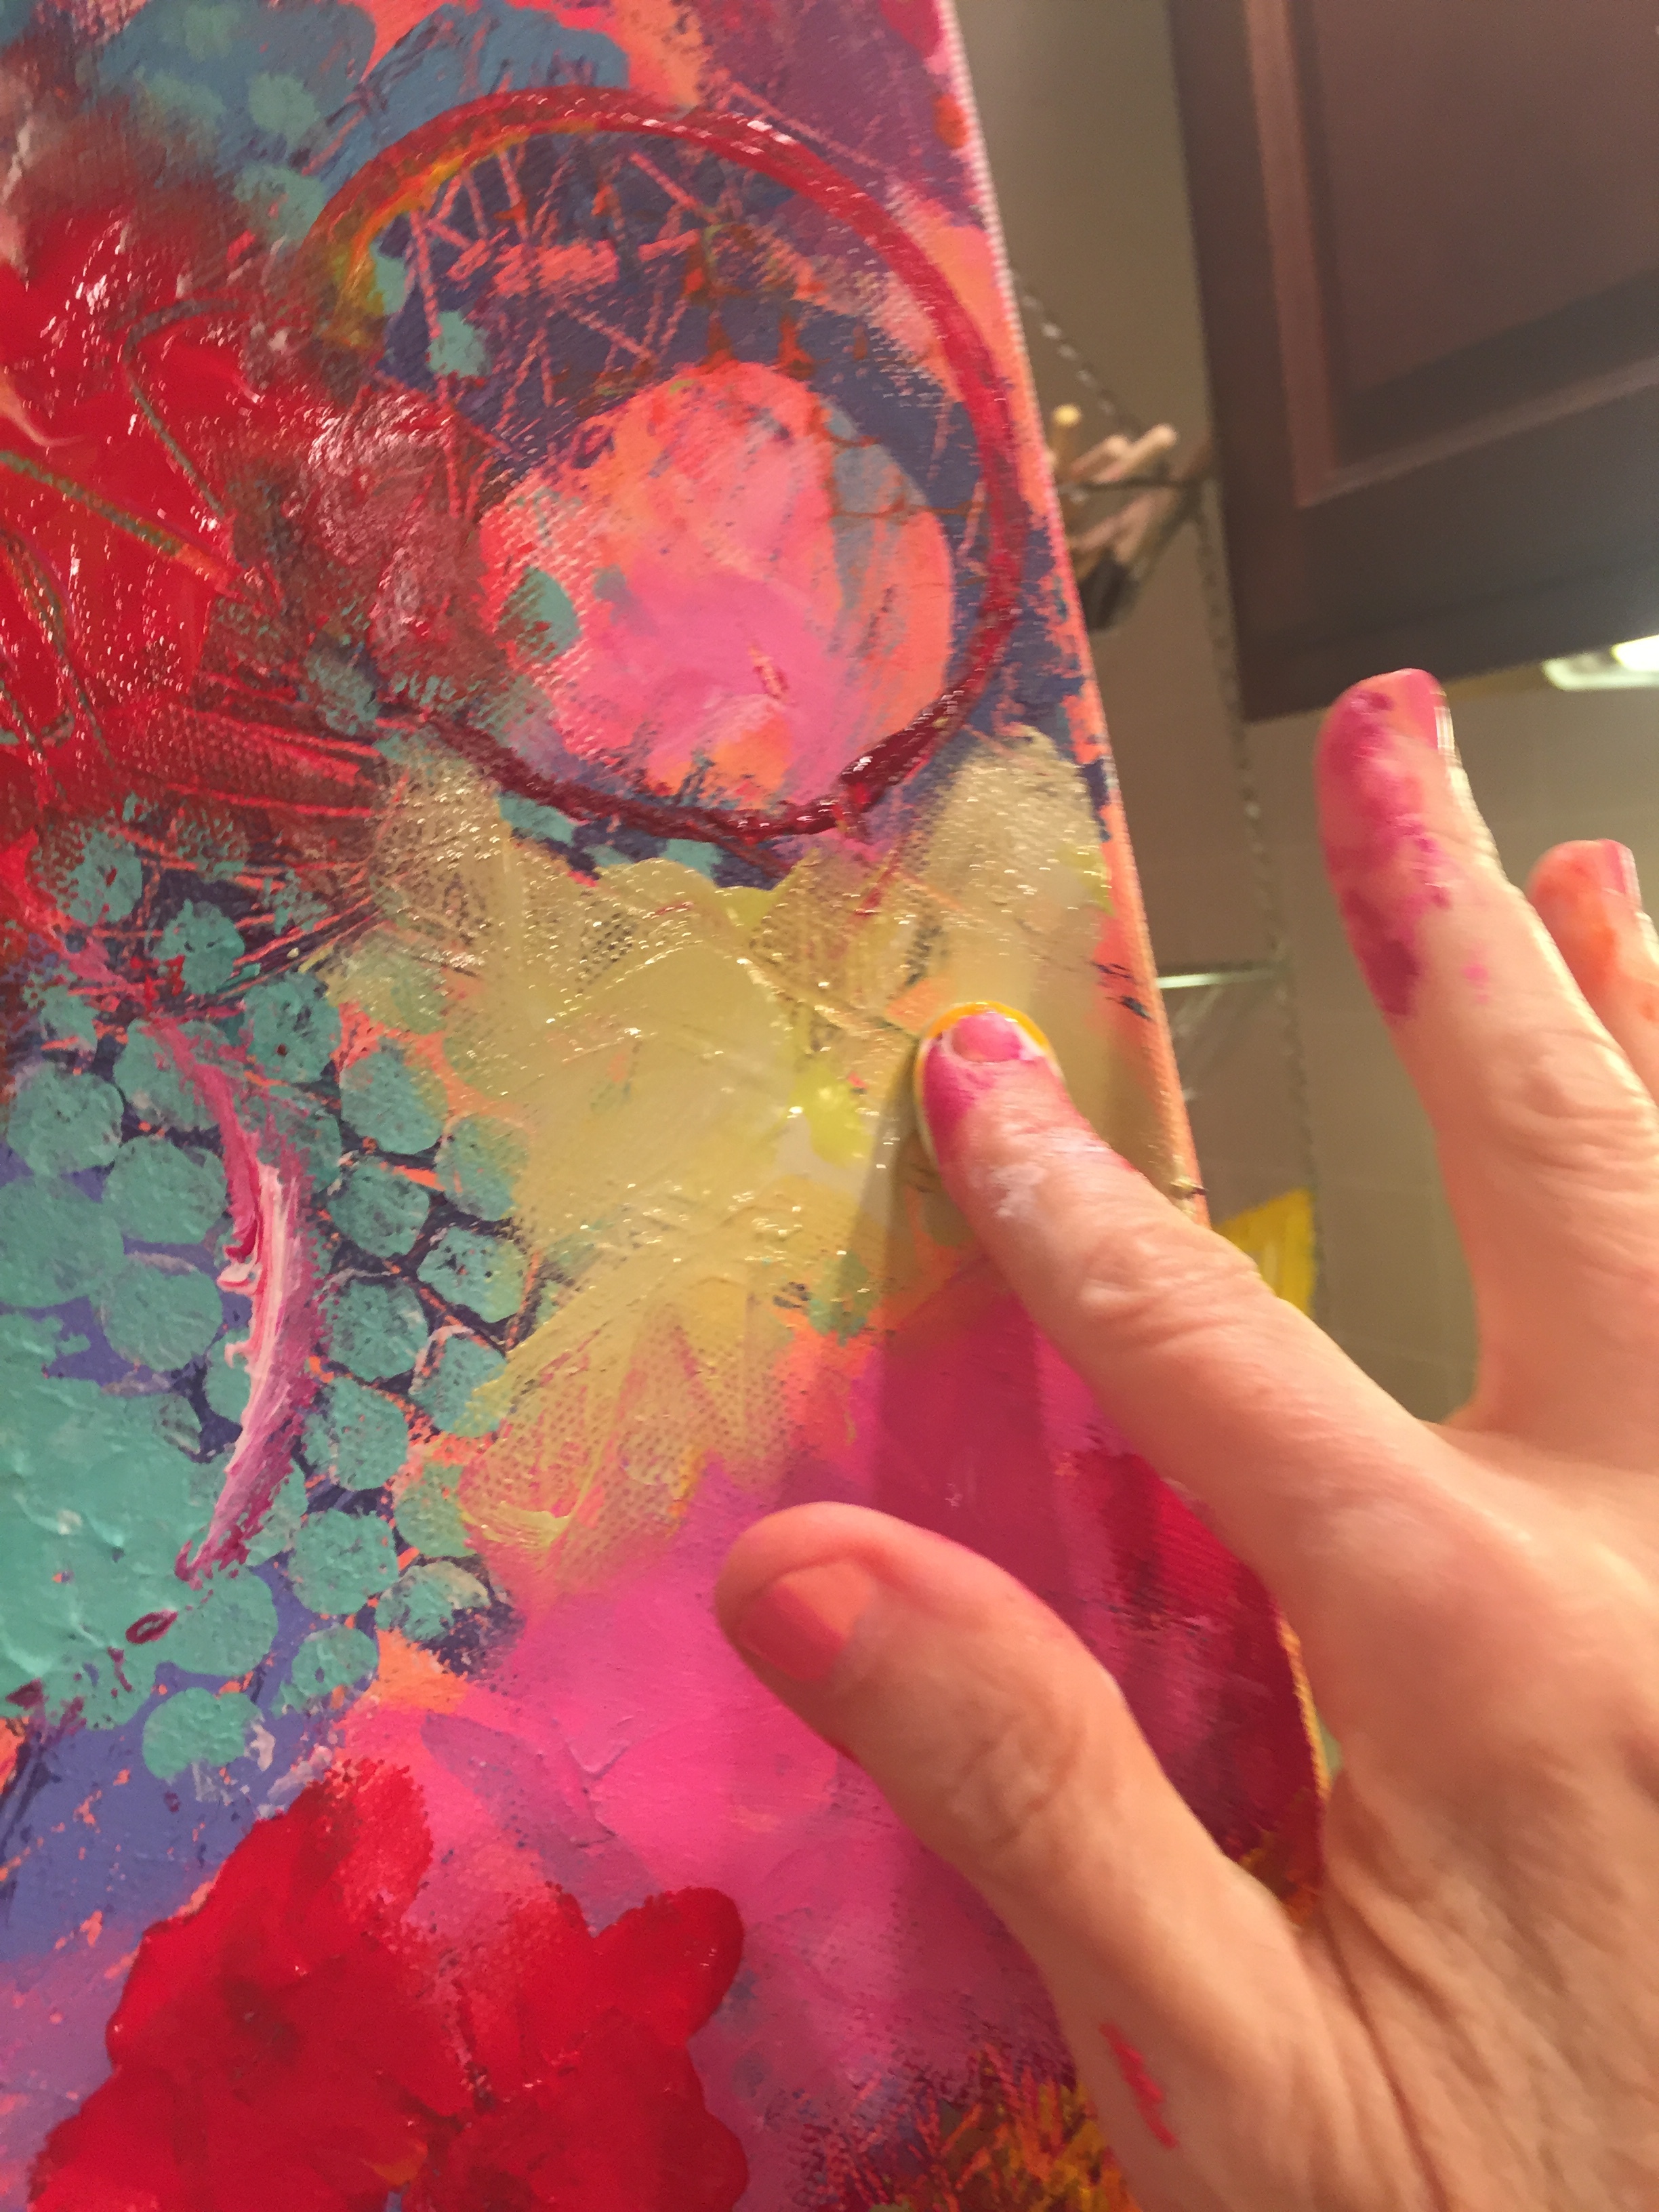
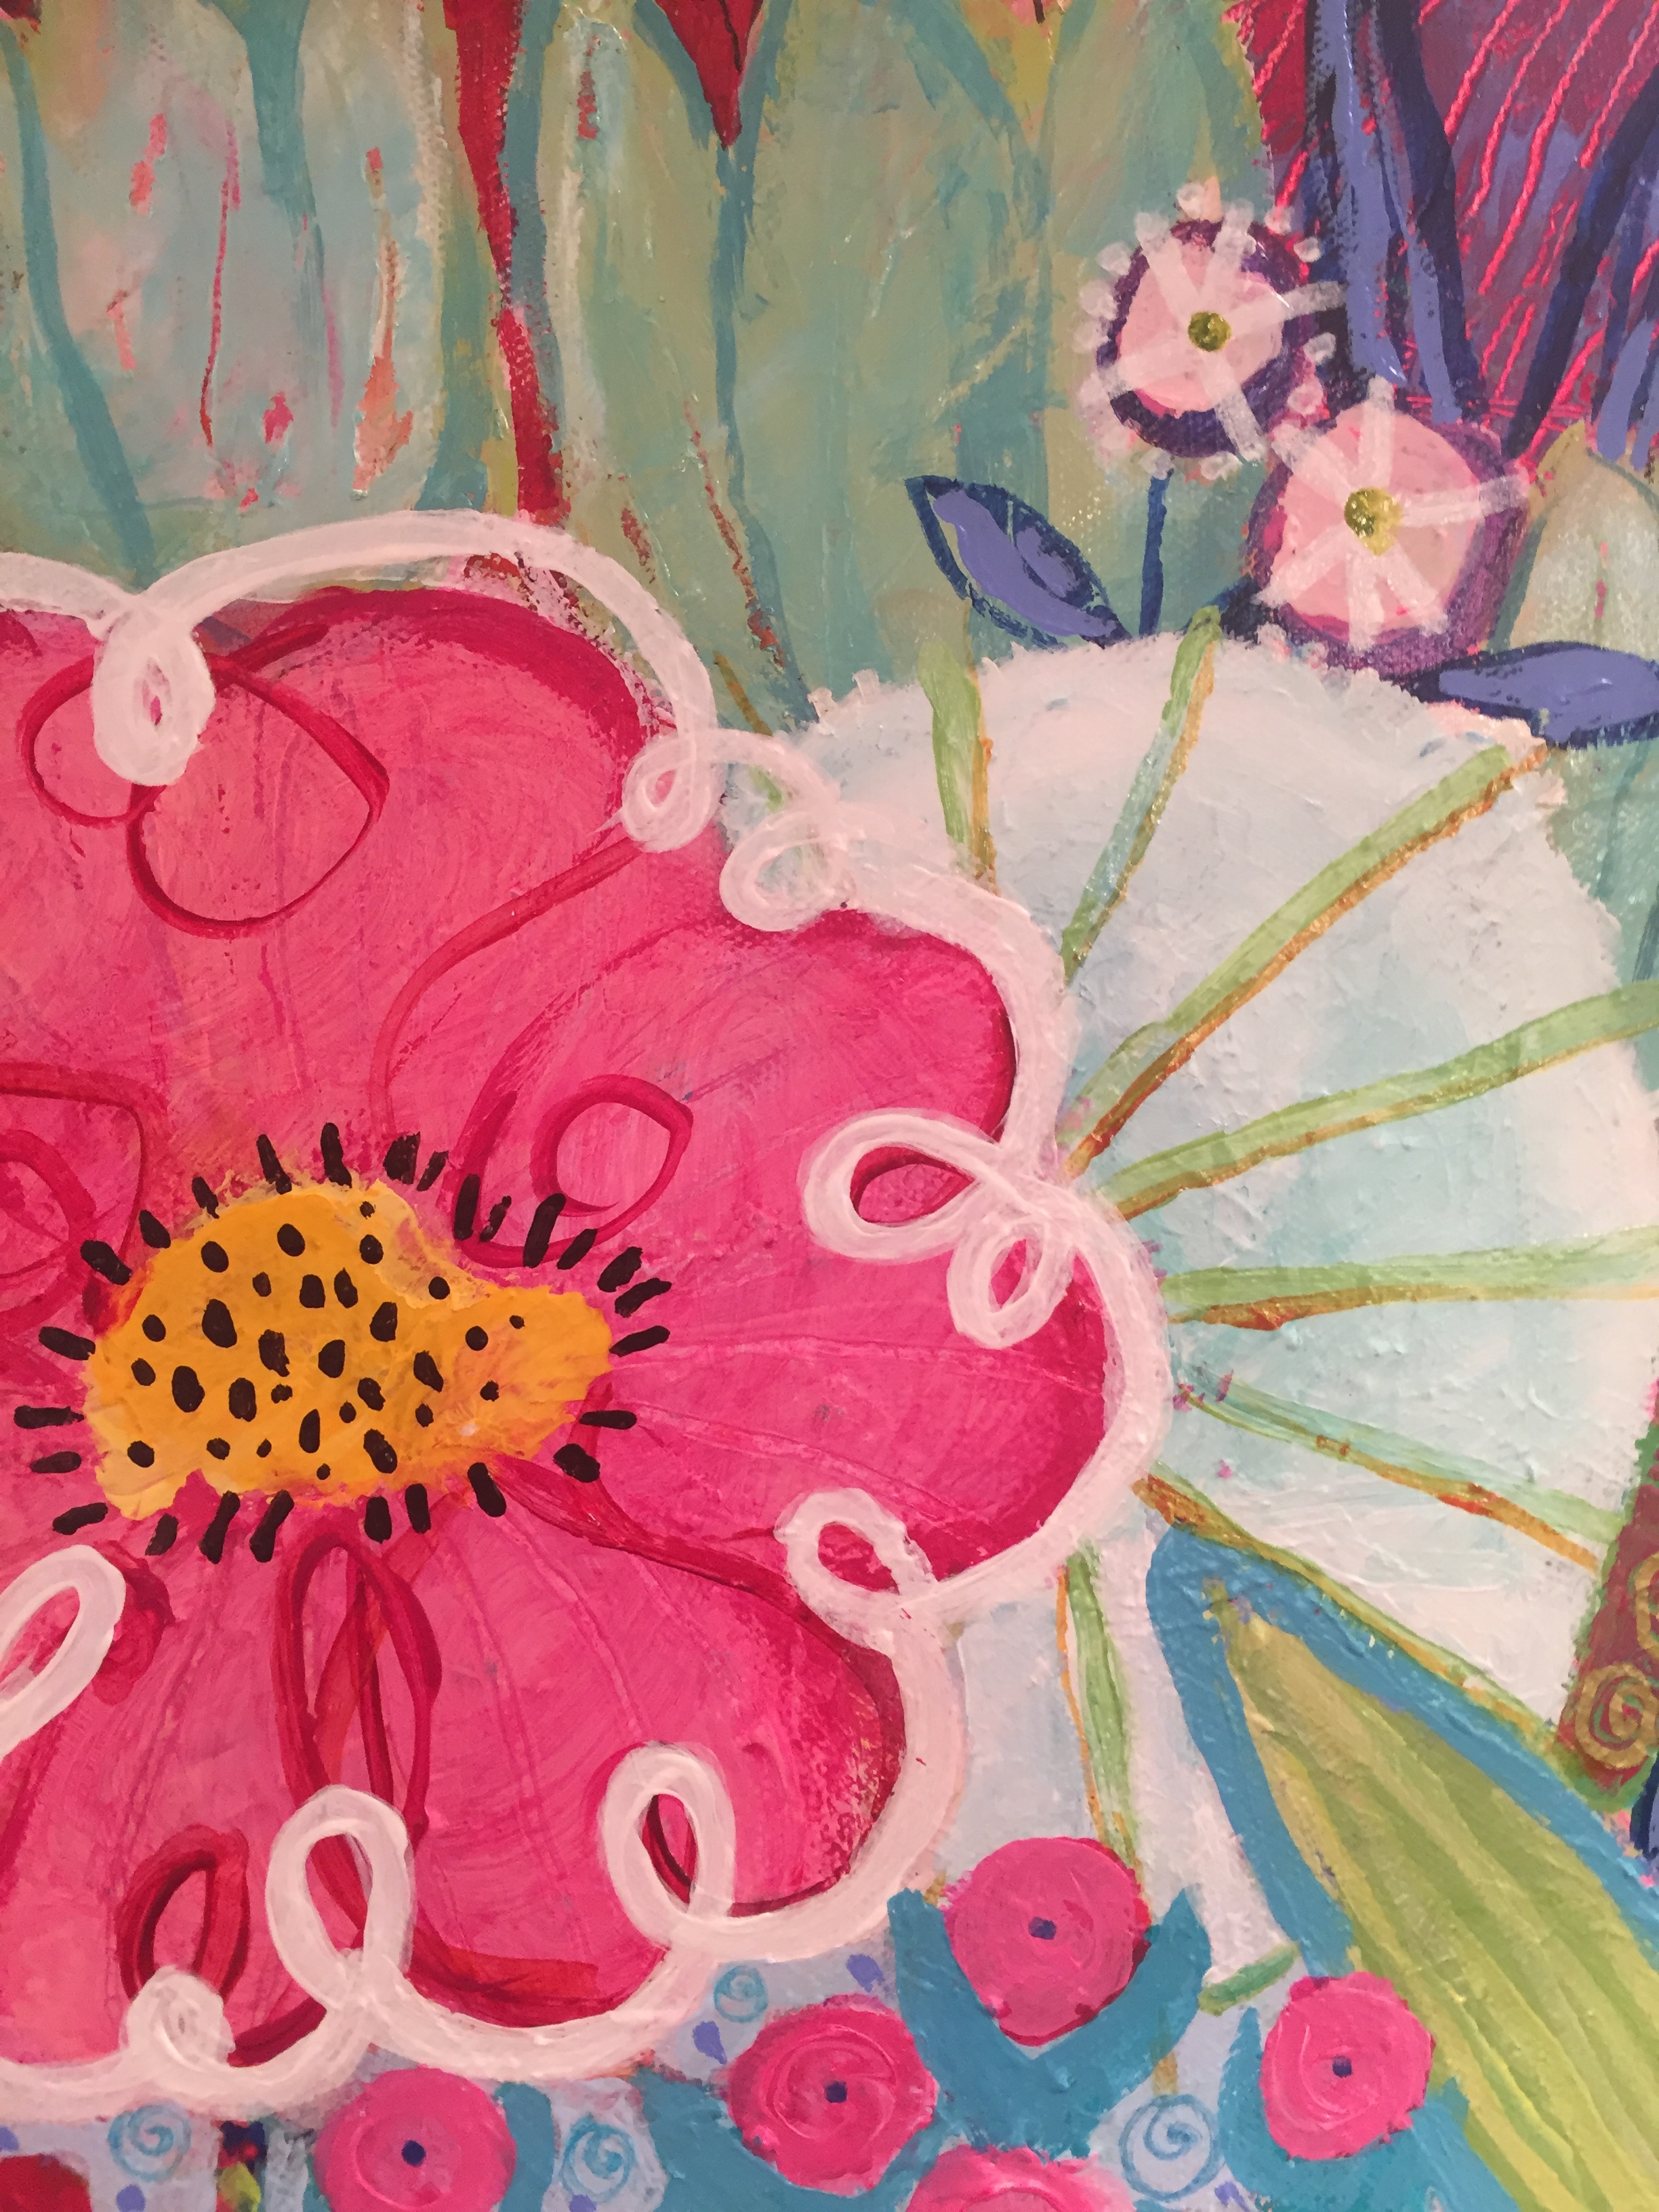
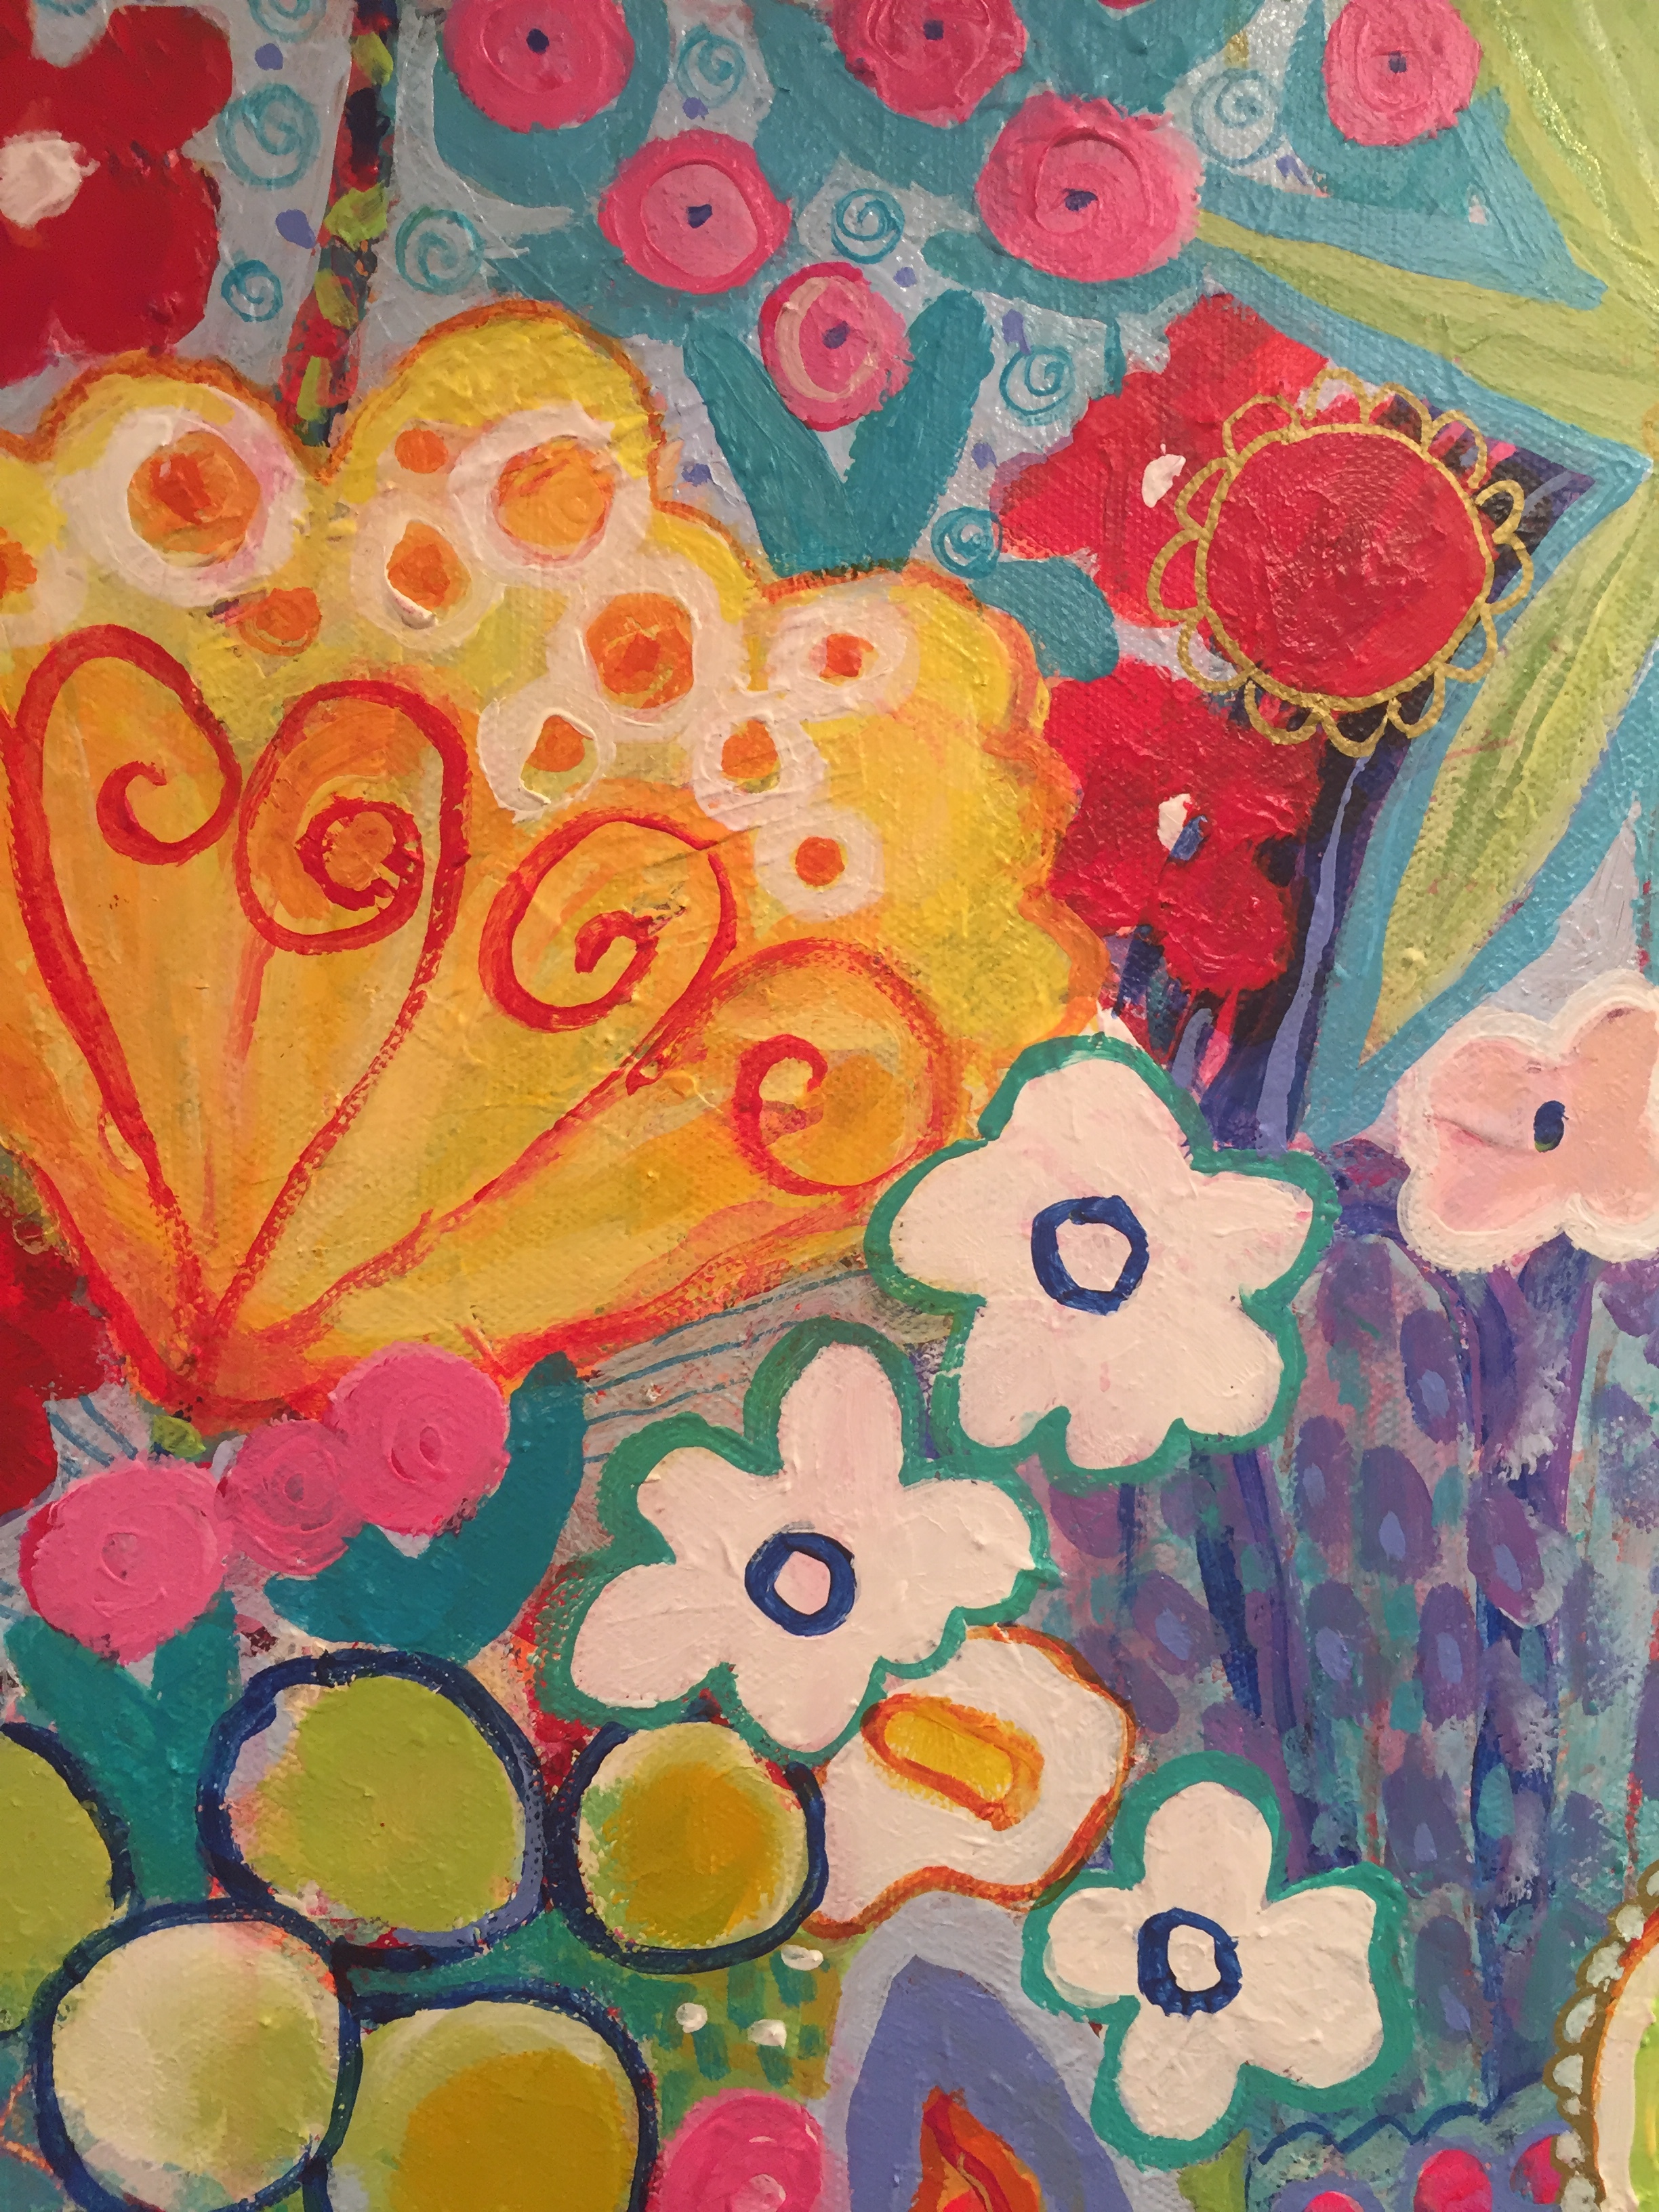
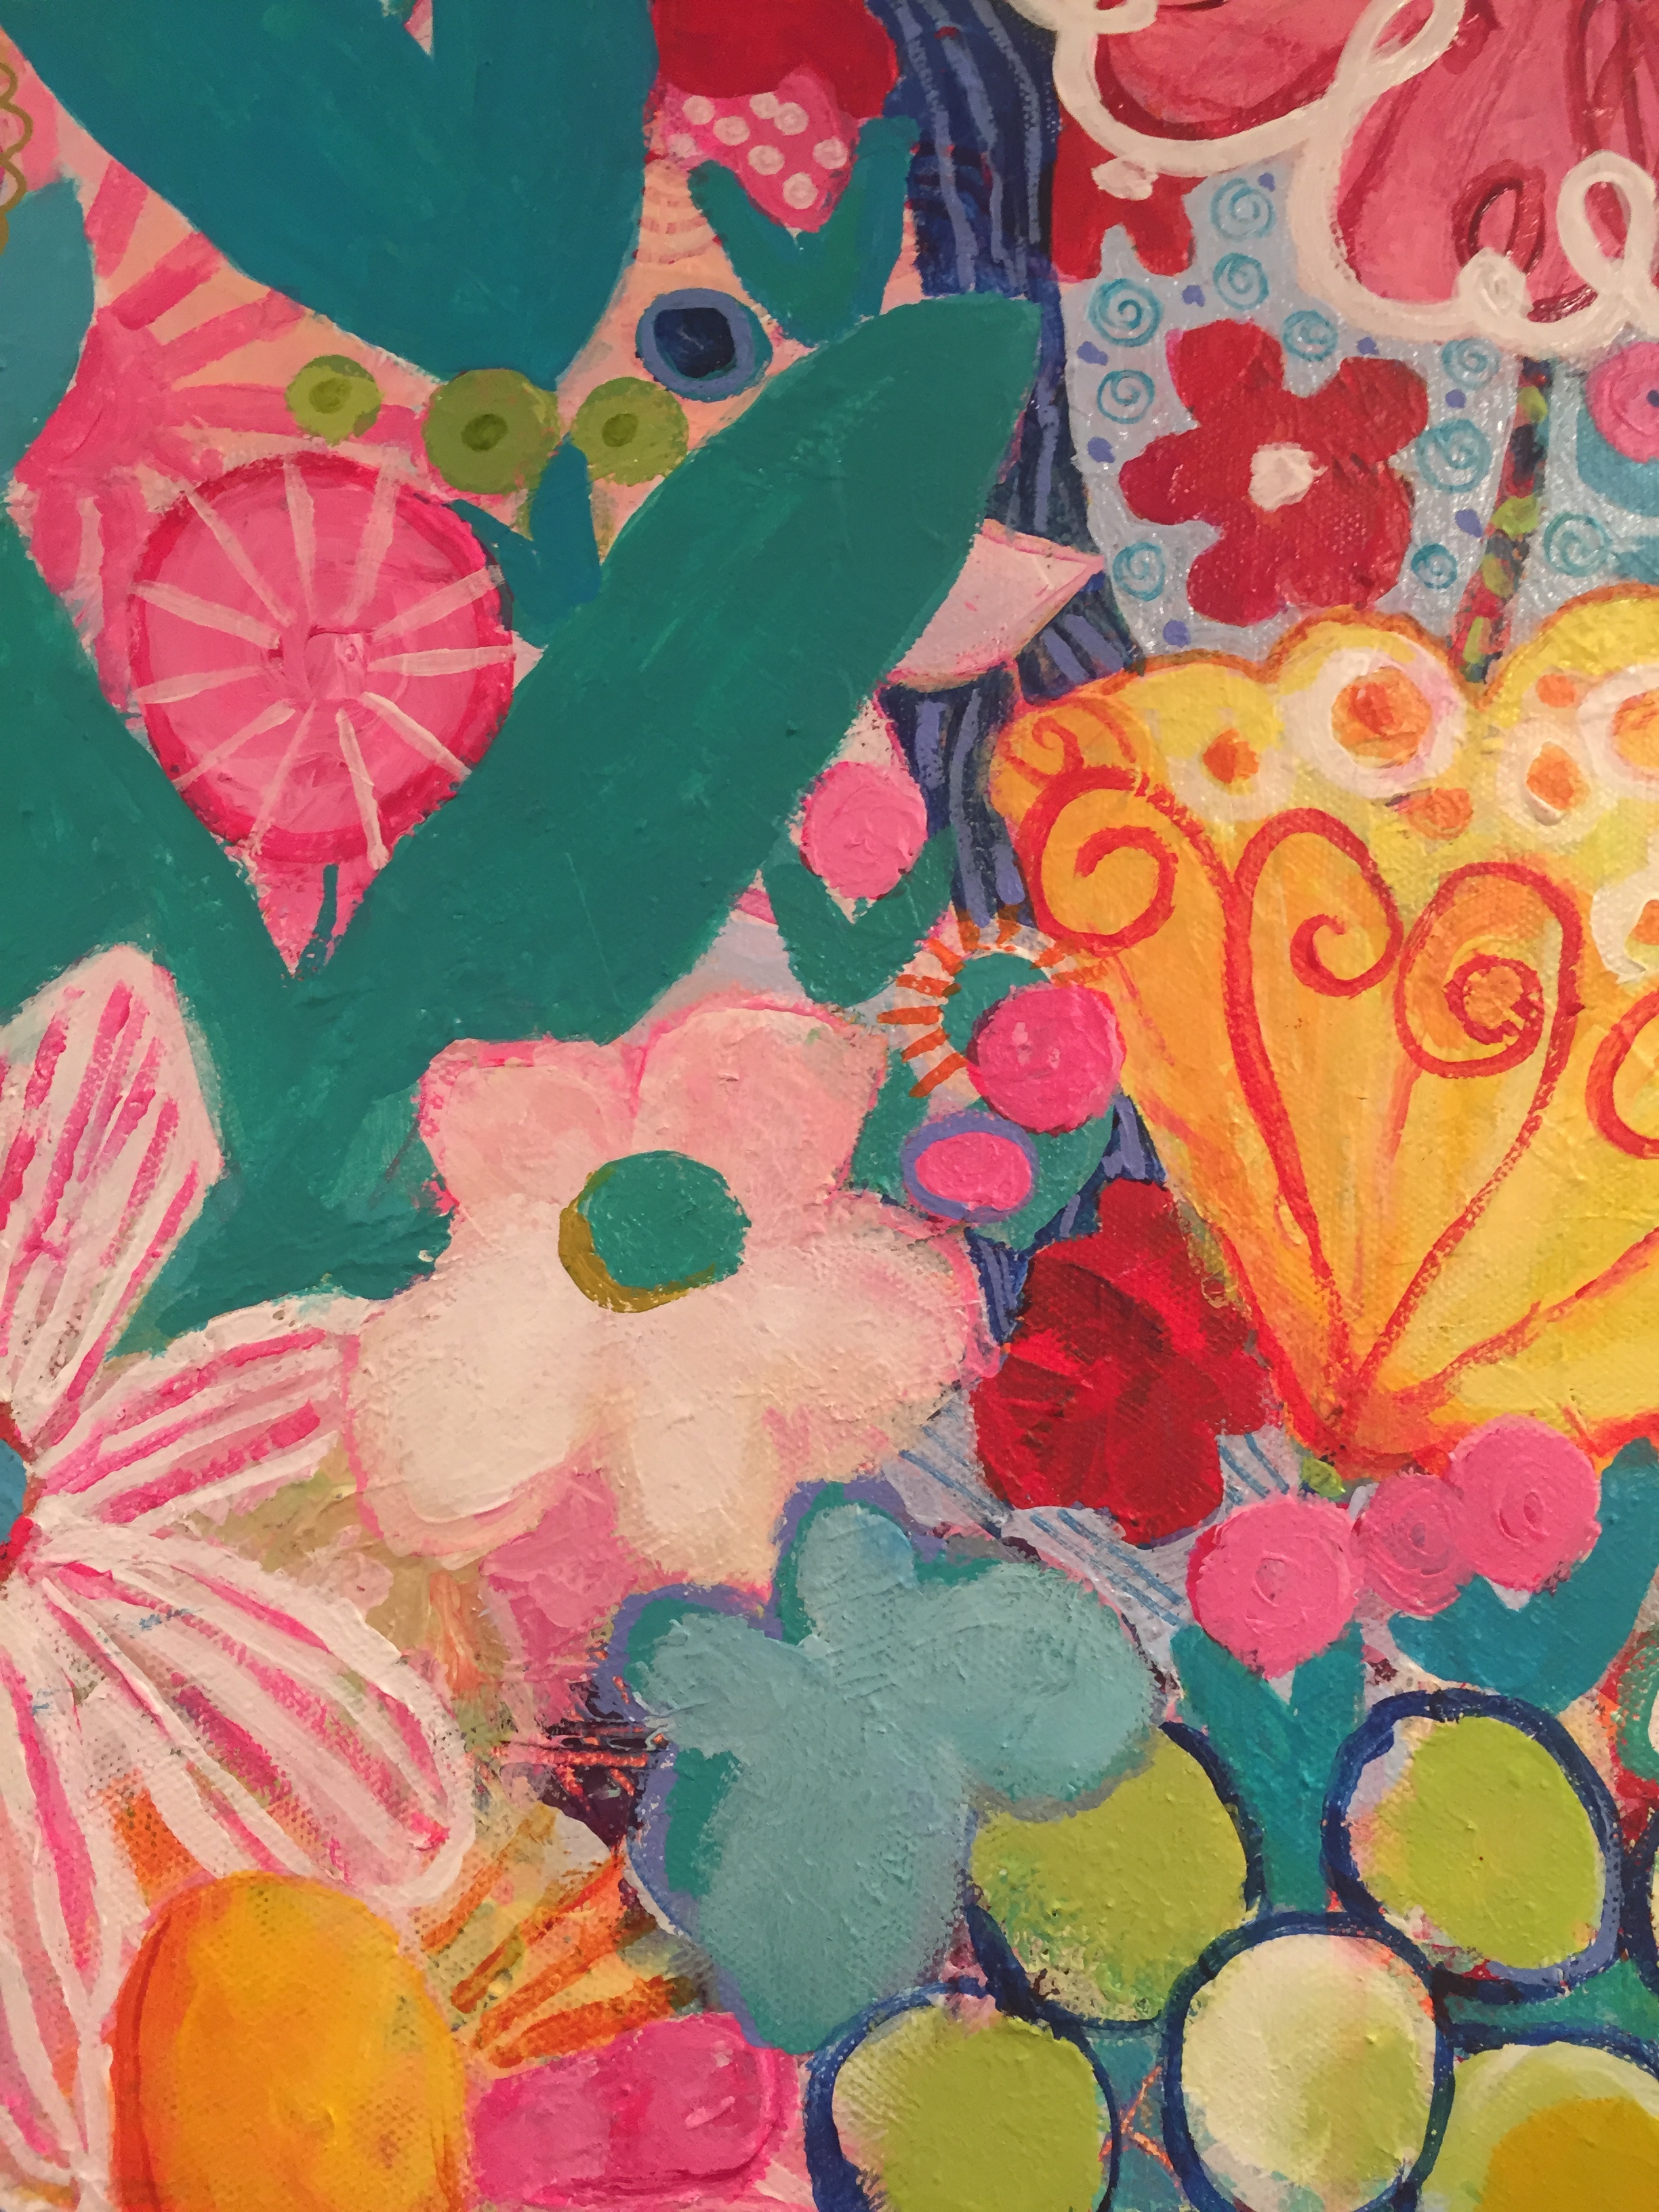
After taking a break from looking at this, I was ready to add my style to the entire piece. This is the FUN part. The shapes are in place and now you start the DECORATING. Add swirls, dots, outlines, stripes, fan shapes, use your waterproof markers and pens, thin paints that move easily like Golden Fluid Acrylics, add gold flecks, glitter, silver outlines...whatever enters your mind. Remember to step back occasionally to see what it looks like from a distance. When completely done, seal with gloss or matte gel medium. Remember to dilute it 2 waters:1 gel.
You are finished! Congratulations. Job well done. Jump right in and create a new background, use a bigger canvas, and try using a different group of colors for cools and warms and see how that affects your overall painting. After you have done 3 or 4 of these you won't remember what was so difficult the first time around. Enjoy!


